
Creating a slide master in MS PowerPoint is a great way to help organize your slides and make them more visually appealing. You can use a master slide to introduce a topic, summarize a presentation, or provide a quick overview of a topic.
Table of Contents
- 6 Easy Steps to Create a Master Slide in MS PowerPoint
- How to Create a Master Slide in MS PowerPoint: Watch the Video!
6 Easy Steps to Create a Master Slide in MS PowerPoint
If you follow these simple instructions carefully, you will be able to easily create a master slide in PowerPoint. Just click the mouse in the right places and everything will turn out!
So, let’s go!
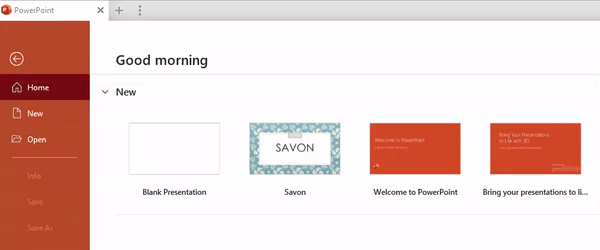
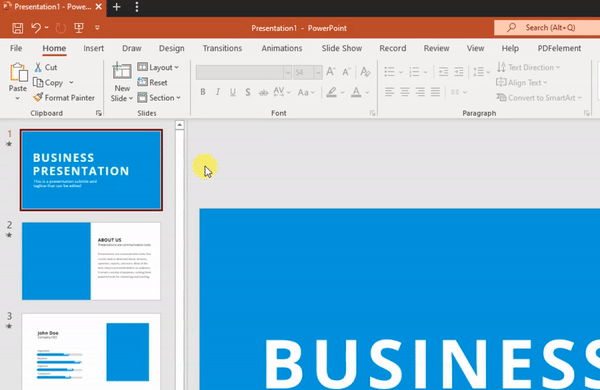
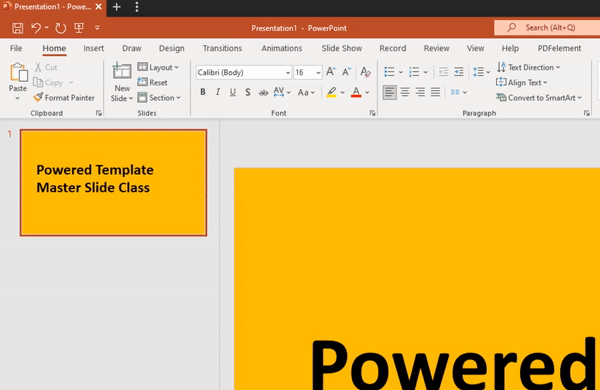
1. Open Microsoft PowerPoint > Create a new presentation
Launch your MS PowerPoint program and start by creating a blank document. This blank sheet will turn into an outstanding presentation soon, don’t doubt!
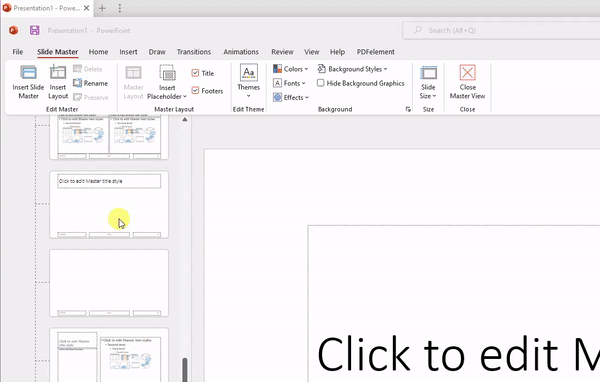
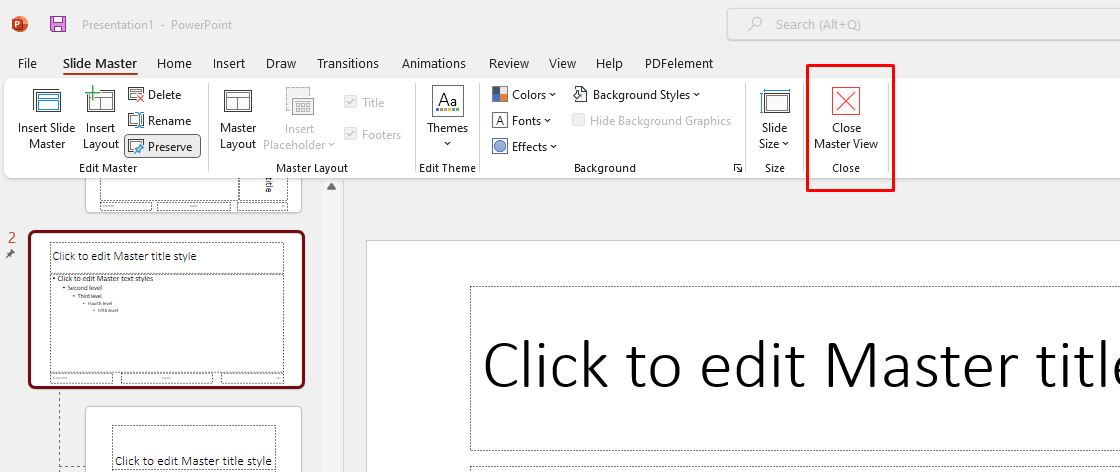
2. Open View > Slide Master View
Master slides control the look of your entire presentation, including colors, fonts, backgrounds, effects, and just about everything else. You can insert a shape or a logo on a slide master, for example, and it will show up on all your slides automatically.
3. Important task: Insert a new slide master
Inserting a slide master in the blank template is a really important task to do. Whether you’re making it for a personal or commercial project it’s important to create a style format (Slide Master) for your uses.
There are a few basic layouts that contain in the slide master family:
- Title layout
- Title & Content layout
- Content header layout
- Comparison layout etc.
This style layout comes with different styles for a design perspective. Which is basically must be needed for a designer sense. Creating a few design layouts will likely help high-ranked traffic impressions.
4. Create a few Master Layouts in Slide Master Panel
Once you’ve created enough styling layouts which is basically framework or layout for design purposes, let’s jump in to create slides. Let’s exit now.
5. Close Master View Panel
6. Start Designing Slides with actual content
In this part, you’ll have to design your slides in a home directory using Slide Master, styling, and colors. That makes it a great design.
How to Create a Master Slide in MS PowerPoint: Watch the Video!
Are you looking for a video tutorial? Let’s see here.