
Creating a product design process timeline in PowerPoint can be a great way to keep track of your product development and ensure that everyone is on the same page. By creating a timeline, you can ensure that everyone understands the steps involved in developing your product and can track the progress being made.
- What is a timeline?
- How to Create a Product Design Process Timeline in PowerPoint
- Create Timeline With 5 Steps of the Product Design Process
What is a Timeline?
A timeline is a graphical representation of a sequence of events. It is typically used to represent historical events, but it can also be used to represent future events.
A timeline can be a useful way to represent information. It can help to organize information and to make it easier to understand. Timelines can also be used to tell a story or to provide a history of an event.
Creating a timeline is also a great way to communicate your product design process to stakeholders and investors. By having a timeline, you can show them exactly what needs to be done and when, and give them a clear understanding of the work that goes into developing a product.
In our case, we will create a timeline to control the design process in PowerPoint.
How to Create a Product Design Process Timeline in PowerPoint
Timelines can be created using a variety of software applications, including PowerPoint. When creating a timeline in PowerPoint, you will first need to decide on the time period that you want to represent. This can be done by selecting a start and end date. Once you have selected a time period, you will need to add events to your timeline. To do this, you will need to add a new slide for each event. On each event slide, you will need to include the date of the event, a description of the event, and an image or graphic. You can also add additional information, such as the location of the event or the people involved. Once you have added all of the events to your timeline, you will need to add a title and description to your PowerPoint presentation.
There are a few things to keep in mind when creating a product design process timeline in PowerPoint. First, you’ll need to decide on the format of your timeline. There are a few different ways to do this, but the most important thing is to make sure that it’s easy to understand and follow.
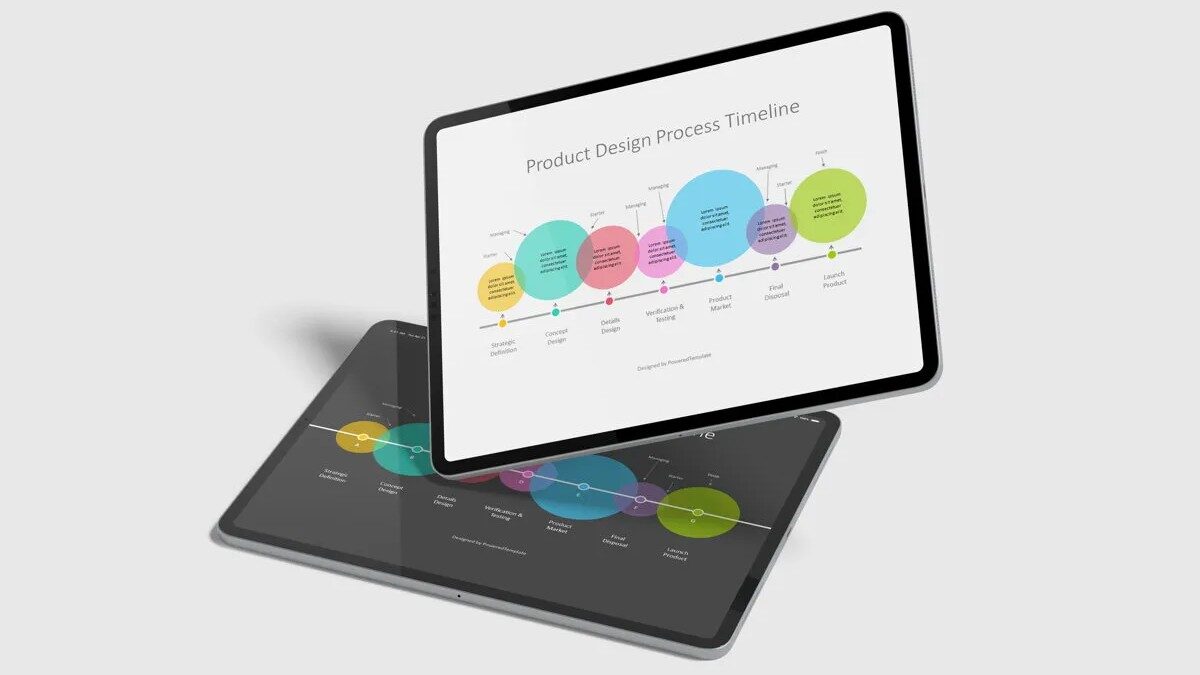
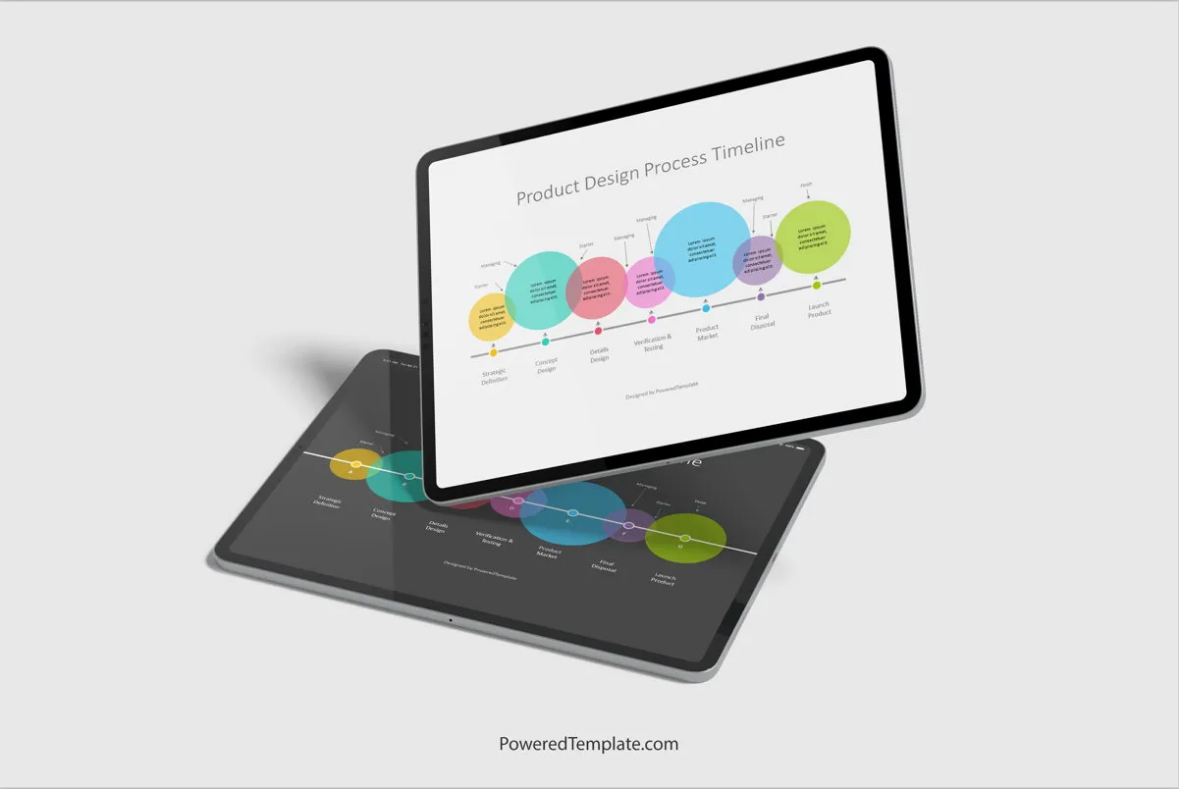
Here’s an example of what we’re going to create in this tutorial. Let’s enjoy it!
Launch PowerPoint and Proceed
The first step when making a timeline on Microsoft PowerPoint is to create a template. To do this, start by launching the PowerPoint app.
Go to Insert > New Slide> Select any blank template
Pick any styling slide which you like to have on your desired timeline sample; pick any slide design and make it useful like the listed image.
Select & Edit > Text > Update accordingly
Create Timeline With 5 Steps of the Product Design Process
Now, you’ll need to decide what information to include in your timeline. This will vary depending on the complexity of your product, but some things to consider include the research and development phase, the design and prototyping phase, the testing and validation phase, and the production and launch phase.
Once you’ve decided on the format and information for your timeline, you’ll need to create the actual timeline itself. This can be done in a number of ways, but the most important thing is to make sure that it’s easy to read and understand.
Write down your steps of the desired process
Go to Insert > Shapes> Line Arrow
Go to Insert > Shapes> Circle Shape with 6 Colors
Arrange sections according to the layout
Creating infographic circles
To create infographic circles go to Insert > Shapes> Circle Shape with 6 Colors
Arrange infographics according to your need; make them aligned and organized.
Go to Insert > Text Box> Add 6 Text Block
Add 6 more arrow Insert > Shapes> Line Arrow
Go to Design> Format Background> Add Gradient Colors to Background
Once you’ve created your timeline, you can then add it to your PowerPoint presentation. This can be done by inserting it as an image, or by adding it as a slide.
If you’re adding it as a slide, you’ll need to make sure that it’s properly formatted and that all the information is easy to read. You can do this by using a slide layout that’s designed for timelines, or by creating your own custom layout.
Once you’ve added your timeline to your PowerPoint presentation, you can then start to fill in the details. This includes adding the dates for each phase of your product development, as well as the tasks that need to be completed during each phase.
As you fill in the details of your timeline, you can also add notes and comments to help explain each task. This can be a great way to provide context for your stakeholders and investors and ensure that everyone is on the same page.
Once you’ve completed your timeline, you can then share it with your team and stakeholders. This can be done by exporting it as a PDF, or by sending it out as an email attachment.
By following these steps, you can easily create a product design process timeline in PowerPoint that will help you keep track of your product development and ensure that everyone is on the same page.
END Results! That’s awesome, you can download this template FREE here.
You can also find the Tutorial on YouTube.