
In this short article, I will show you how to create an impressive 3D parallax effect on a simple 2D image using only PowerPoint tools.
Imagine a regular 2D image on your slide suddenly gaining depth and movement. None of the audience will remain indifferent, right?
If you want to apply this technique
- You will have a great opportunity to make your slides memorable and your presentation irresistible.
- You will not need special design skills or experience with complex graphic programs. Just PowerPoint!
Below, I will provide an example of how to achieve this result using only PowerPoint tools and animation.
An Example of 3D Parallax Effect on a 2D Image
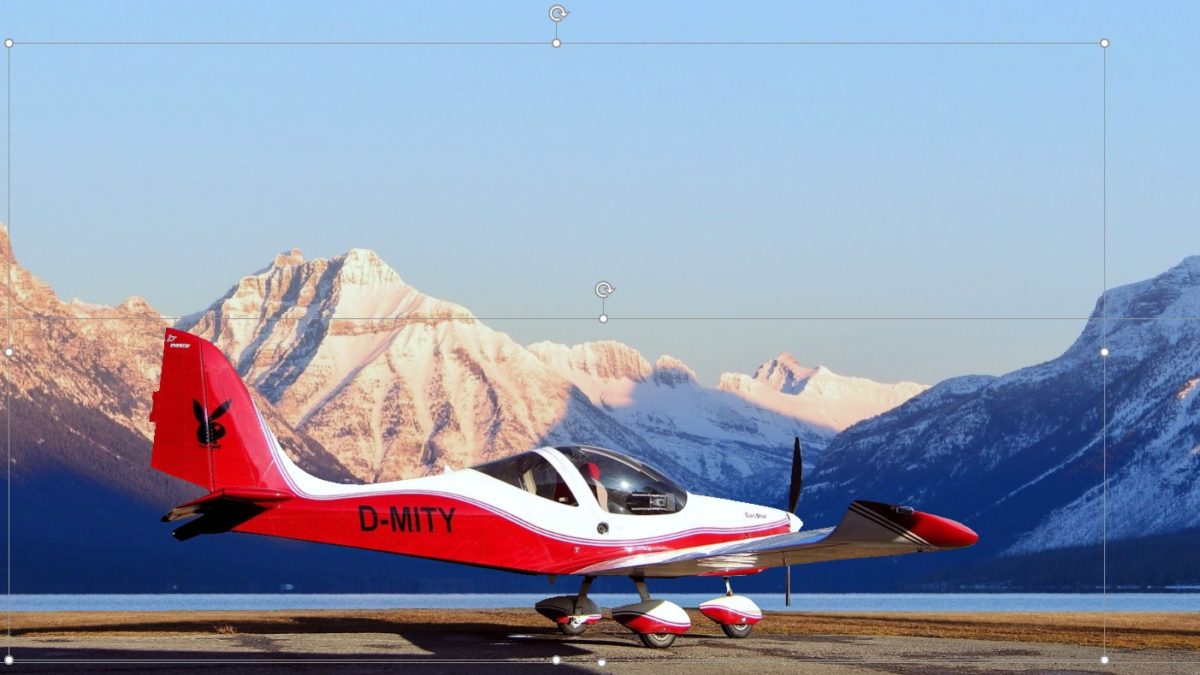
I understand that I need to capture your interest, so I’ll start with the end result! Here is a flat image. It clearly expresses two visual planes: the foreground and the background. In the foreground, there’s a sports plane brightly lit by the sun; in the background, a view of mountains in a barely noticeable haze.
After adding a bit of PowerPoint magic, here’s what we achieved:
However, it wasn’t straightforward, as not everything is as simple as it might seem at first glance. Here’s why.
How I Created the Layers for This 2D Image
I decided that a large, brightly lit object on a beautiful background would best illustrate our task. A sports plane? Why not?
Foreground Layer

First, I needed to split the 2D image into two layers to create the two visual planes I mentioned earlier. These are necessary to illustrate the 3D parallax effect:
- The foreground — the plane standing on the taxiway of the dirt airfield.
- Everything else as the background.
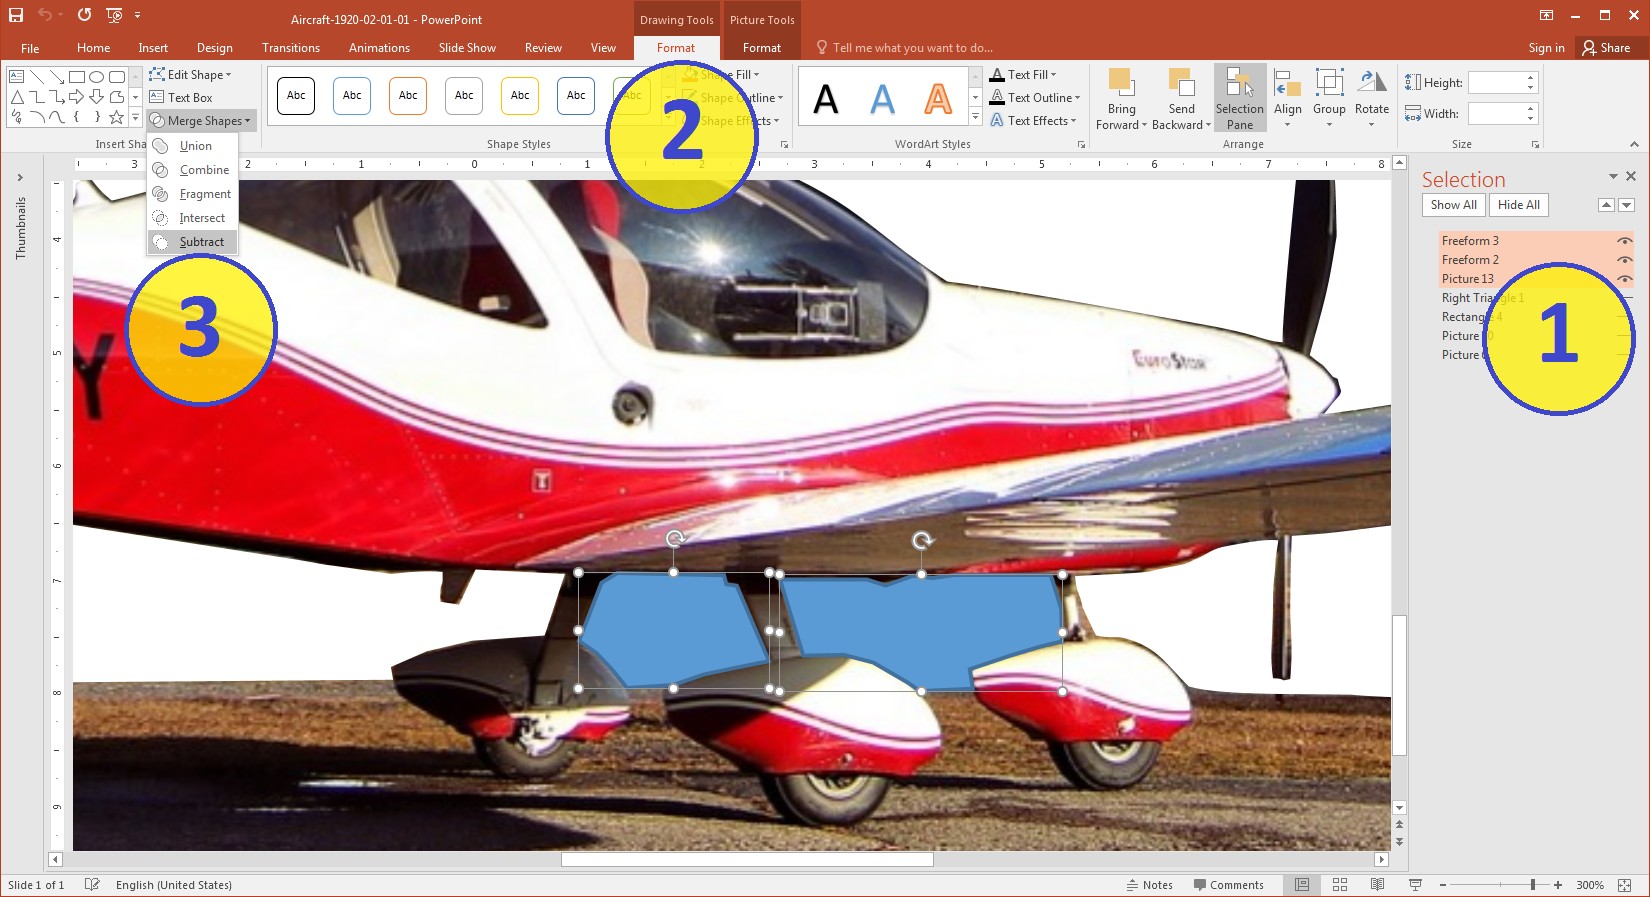
To split the 2D image into two layers, I used PowerPoint’s Free Form tool and the Merge Shapes tools: Fragment, Intersect, and Subtract.
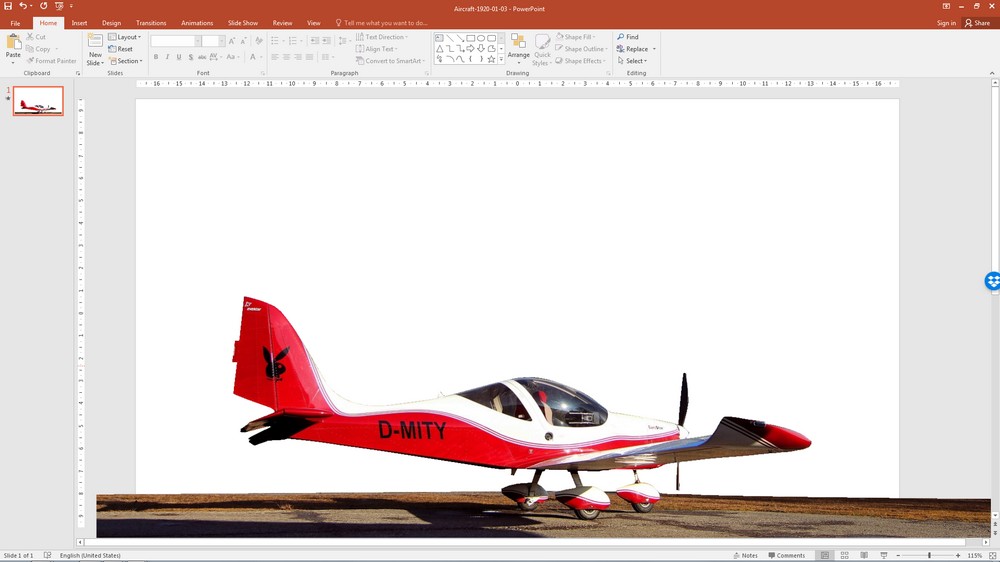
As a result, I got two separate layers: this one as the foreground…
…and this one as the background:

Background Layer
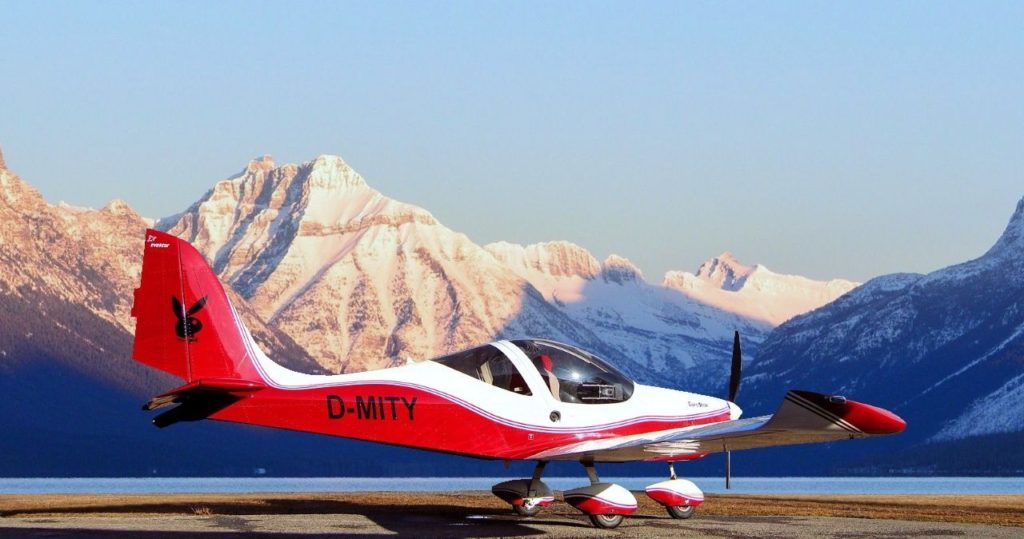
Even a cursory glance at the resulting background was enough to understand that I had nothing to fill this huge hole in the mountain with. Even Adobe Photoshop would struggle, and I promised to use only PowerPoint tools, remember? So, since this mountain was hopelessly ruined, I set it aside and went to Pixabay to find another one. And I did! Here it is:
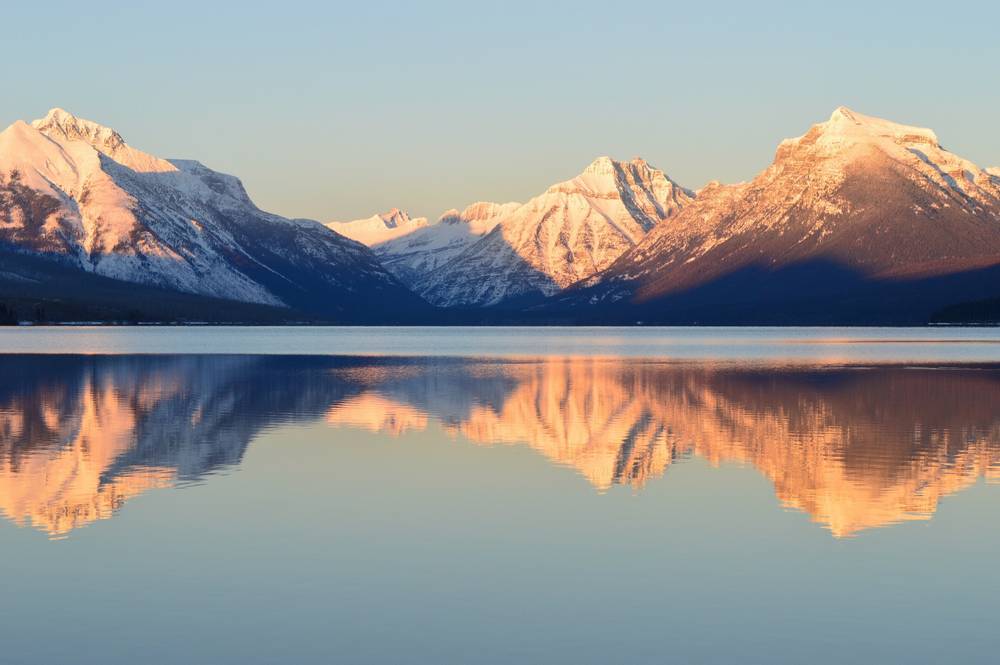
And what? A good mountain. No worse than the one with the hole, right? But some adjustments were needed!
- First, I cropped the image and removed the unnecessary reflection of the mountains.
- Then I flipped the image horizontally to get the lighting from the same side as in the photo of the plane.
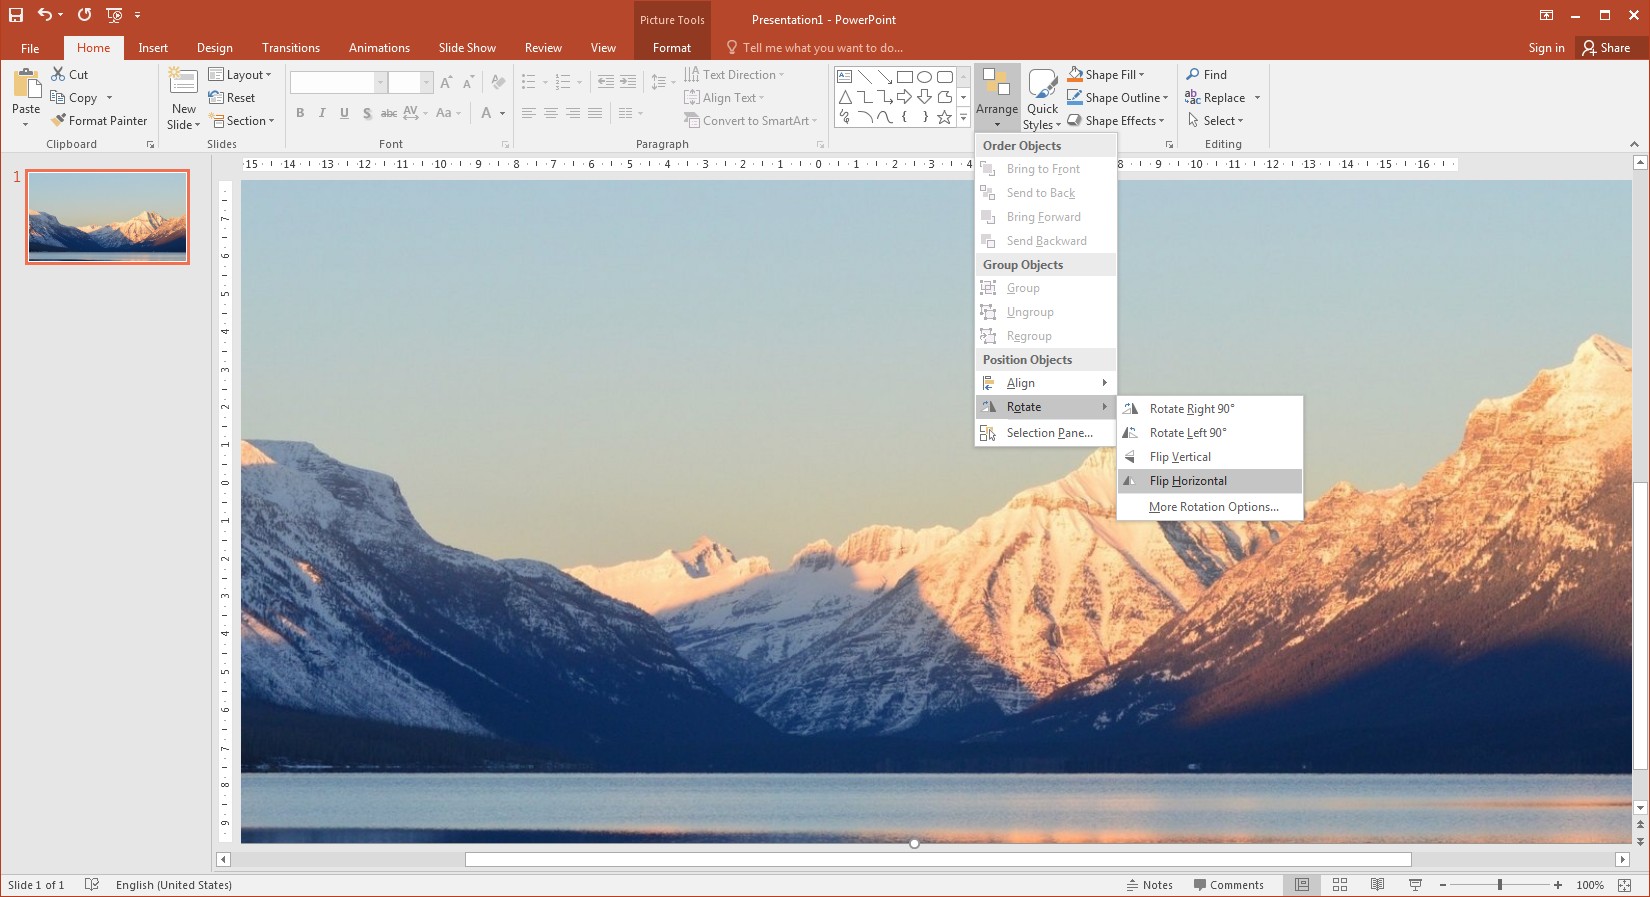
- Finally, I changed the color temperature from 6500K to 4700K to get a morning landscape instead of an evening one.
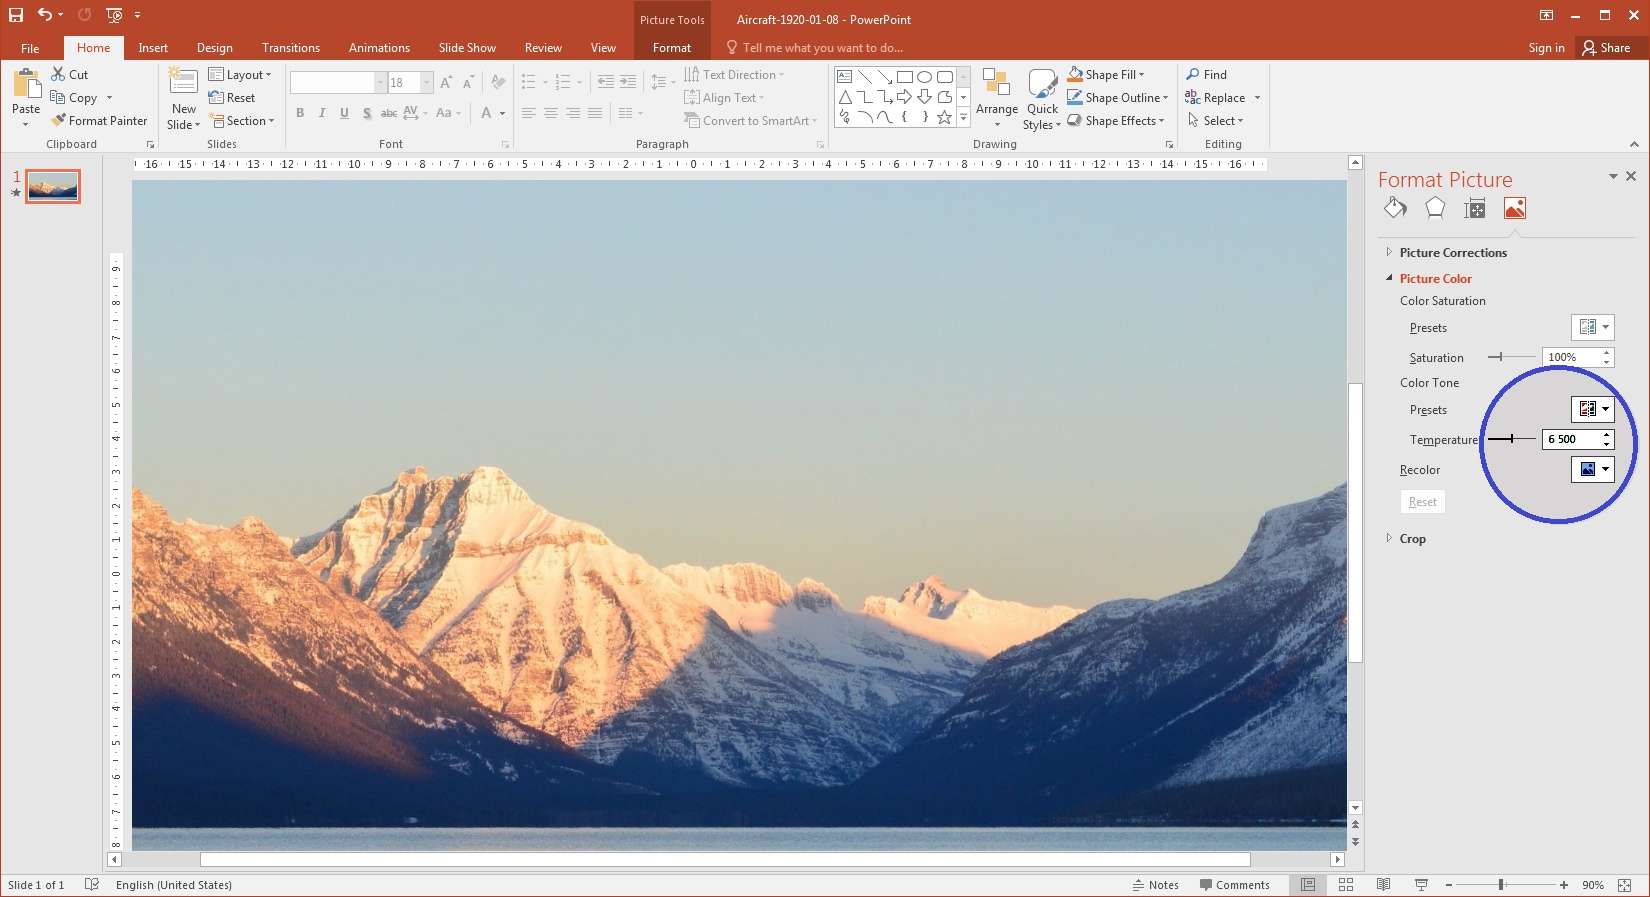
And voila, this is a wonderful new background for our aircraft, right?
How I Assembled the Final Scene
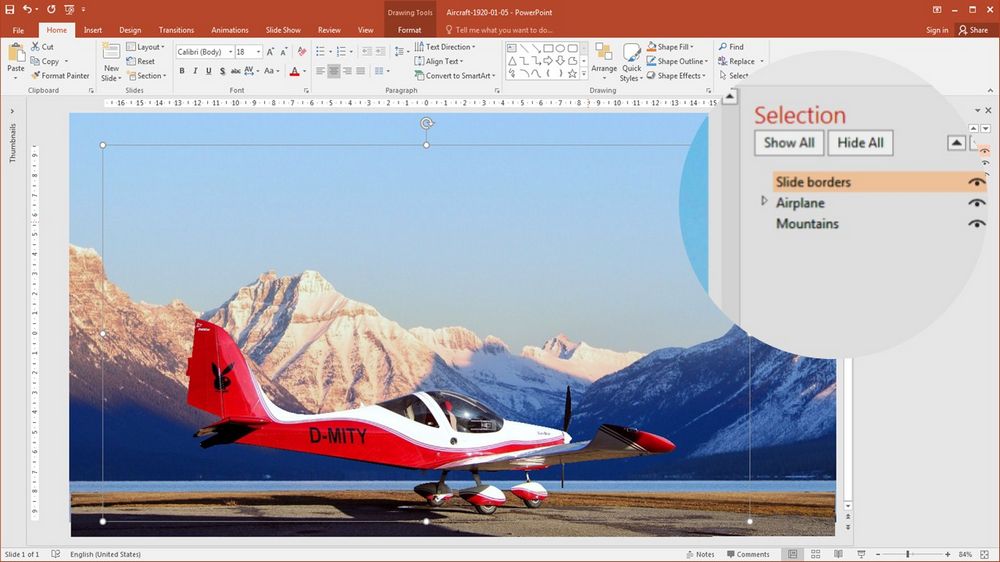
So, after all the manipulations mentioned above, I had the necessary layers as two PowerPoint objects, and I began to assemble the final scene.
- First, I created an empty slide and placed a rectangle of the same size with an outline to easily see the edges of the slide.
- Then I placed the background object on the scene and cropped it so that the horizontal size of the background was slightly larger than the slide. This simple trick would later allow me to scroll the background within the slide.
- Next, I did the same with the foreground object.
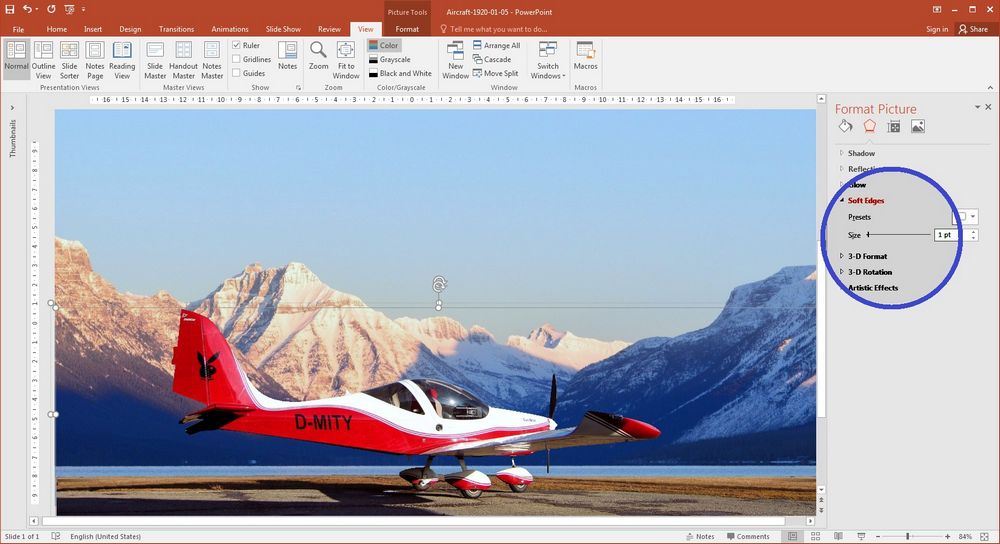
- Finally, I slightly blurred the edges of the foreground object to hide the sharp border between the objects.

That’s all! The scene was ready.
Now it’s time for the animation!
3D Parallax Effect on a 2D Image
Speaking of the parallax effect, Wikipedia claims that:
Some display systems support multiple background layers that can be scrolled independently in horizontal and vertical directions and composited on one another, simulating a multiplane camera.
The Free Encyclopedia
So, now that I had two planes of the same image, all I had to do was scroll them “independently in the horizontal direction” to verify the validity of this statement, right?
To do this:
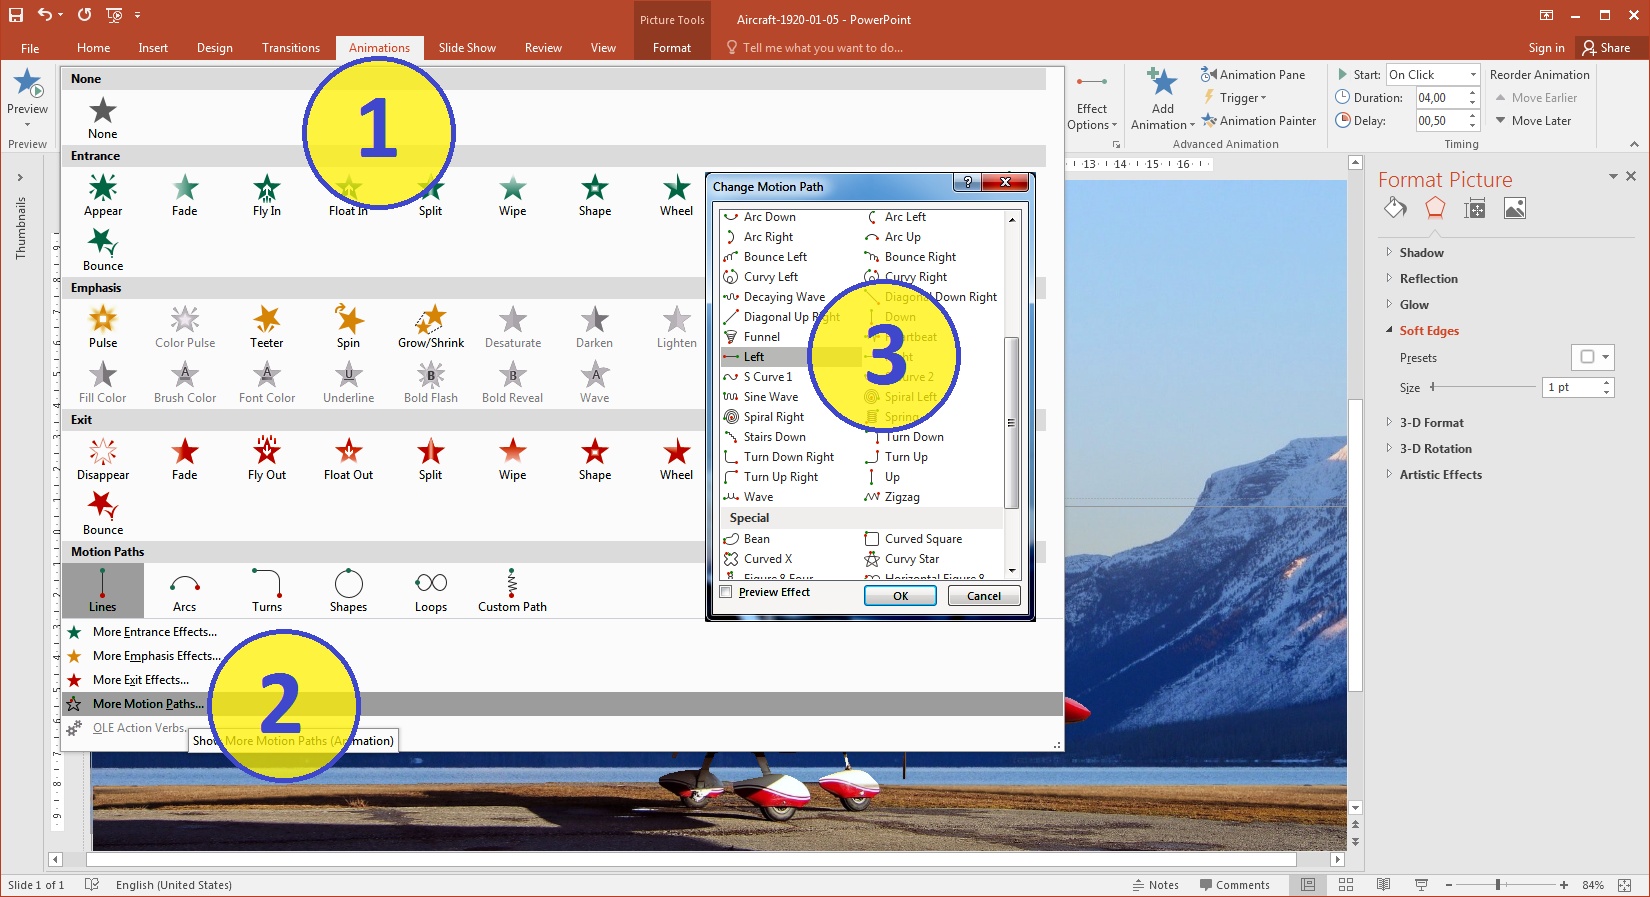
- I sequentially assigned the Motion Path animation from right to left to both layers: the foreground and the background.
- I set the same animation duration of 4 seconds for both layers.
- However, I set the path length longer for the foreground and shorter for the background. This way, I made the foreground move faster and the background slower.
They say seeing is believing. Please watch the video at the top of this article again. This is exactly what I achieved as a result.