

Visual aids such as graphics, images, and videos can be powerful tools for educators to enhance student learning and understanding.
Here are some tips for creating effective educational presentations visuals.
Table of Contents
- Use Relevant Visuals
- Use High-Quality Images
- Use Clear and Concise language
- Use a Variety of Visuals
- Be Creative
- Test your Visuals
- Conclusion
Use Relevant Visuals
Choose visuals that are relevant to the topic you are teaching. For example, use diagrams or flow charts to illustrate a process or use images that relate to the subject matter.

- Keep it simple
Avoid cluttering your presentation or graphic with too much information. Stick to the key points and use visuals to enhance understanding. When you try to include too much information, it can overwhelm the audience and make it difficult for them to understand the key points you’re trying to convey. That’s an important point to keep in mind when creating educational presentations and visuals. - Use visuals to supplement the text
Use visuals to help communicate your message and supplement the text. For example, use diagrams, charts, or graphs to illustrate key points. - Identify the key concepts
Before selecting visuals, identify the key concepts you want to communicate. This will help you choose visuals that reinforce those concepts. - Consider the audience
Think about the audience you are presenting to and choose visuals that will resonate with them. For example, if you are teaching a group of children, you may want to use visuals that are colorful and engaging. - Use metaphors
Consider using metaphors to communicate complex ideas. For example, if you are teaching about the immune system, you could use an analogy of an army to help students understand the different components and their roles. - Use real-world examples
Use real-world examples to illustrate key concepts. For example, if you are teaching about the water cycle, you could use images of rivers, lakes, and clouds to help students visualize the process.
Use High-Quality Images
Use high-quality images that are clear and easy to understand. Avoid using low-quality or blurry images that can be distracting.
Using high-quality images is an important element of creating effective educational presentations and visuals. High-quality images that are clear and easy to understand can help engage the audience and reinforce key concepts. Here are some techniques you can use to ensure you use high-quality images:
- Use royalty-free or licensed images
Use images that are royalty-free or licensed to avoid copyright infringement. There are many websites that offer high-quality, royalty-free images, such as Pexels, and Pixabay. - Choose images with high resolution
Choose images with a high resolution to ensure they are clear and easy to understand. Low-resolution images can appear blurry or pixelated, which can be distracting. - Use images with a consistent style
Use images with a consistent style to create a cohesive look for your presentation or graphic. For example, if you are using photographs, choose images that have a similar color palette or composition. If you’re uncomfortable with finding the perfect stock image yourself, consider working with a designer who can either identify something that will fit well or who can work with some stock vector art to quickly create something original. - Edit images if necessary
Edit images if necessary to improve their quality. You can use photo editing software such as Adobe Photoshop or online tools such as Canva or Fotor to adjust the brightness, contrast, or color balance of an image. - Test images before use
Before using an image in your presentation or graphic, test it to ensure it is clear and easy to understand. If an image appears blurry or difficult to see, consider replacing it with a higher-quality image.
By following these strategies, you can ensure that you use high-quality images that are clear and easy to understand in your educational presentations and graphics.
Use Clear and Concise Language
Simple language that is easy to understand can help engage the audience and ensure they comprehend the key concepts.
- Identify your audience
Before creating your presentation or graphic, consider your audience’s level of understanding and adjust your language accordingly. For example, if you are presenting to a group of elementary school students, you may need to use simpler language than if you were presenting to a group of college students. - Avoid abstruse terms
Of course, your knowledge of the subject comes first, but don’t get carried away with the terms on your slides. Don’t confuse young audiences with “you know exactly what…” followed by some obscure term or rarely used abbreviation. Chances are your listeners have never heard or used it before. - Define terms
Keep in mind that new terminology is only good for an educational presentation if it is accompanied by brief, friendly explanations. If you must use technical terms, define them in simple language to help students understand their meaning. You could also provide examples to help illustrate the concept. - Test your language
Test your language by presenting it to someone who is not familiar with the topic. If they can understand the key concepts, your language is likely clear and simple enough.
Use a Variety of Visuals
Using a variety of visuals is an effective way to keep students engaged and interested in your educational presentations and graphics. Variety can help prevent monotony and make your content more dynamic and engaging.
- Charts and graphs
Charts and graphs can help illustrate numerical data and make it easier to understand. For example, if you are teaching about population growth, you could use a line graph to show how the population has changed over time. - Videos
Videos can be a powerful way to demonstrate a concept or explain a process. You could use a video to show how a machine works or to demonstrate an experiment. - Images
Photographs, illustrations, and diagrams can help reinforce key concepts and make the information more accessible. For example, you could use an illustration to show the different parts of a plant. - Infographics
Infographics can help summarize complex information in a visually appealing way. They often use a combination of images, text, and statistics to convey information. - Animations
Animations can be a fun and engaging way to illustrate a concept. Instincts inherited from predators make us involuntarily fix our eyes on movement. Use this to your advantage! A moving background or surprising movement of a static image will make students pay closer attention to the progress of your presentation.
You could use an animation to show how a chemical reaction occurs or to demonstrate the life cycle of a butterfly.
Be Creative
Сreativity is an important feature of creating visually appealing educational presentations and graphics.
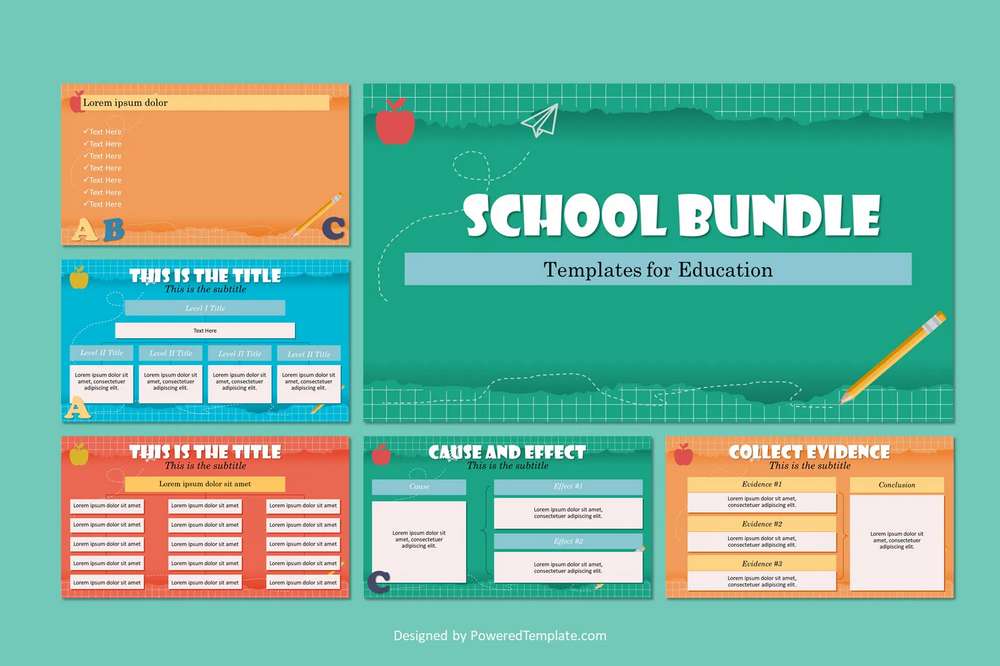
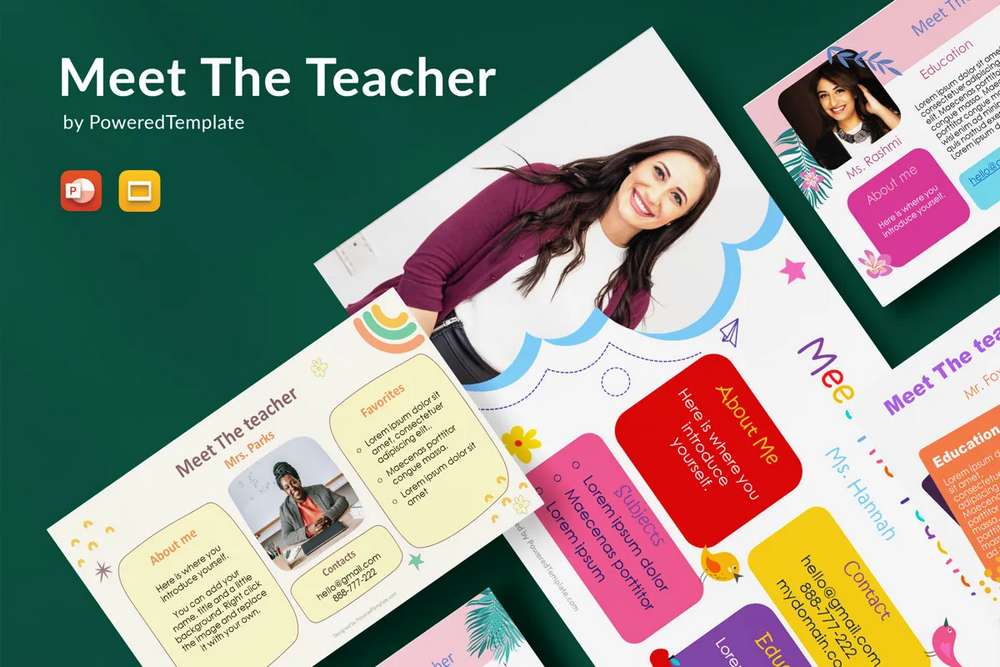
- Experiment with layouts and templates
Experiment with different layouts and templates to find one that is visually appealing and effective in conveying your message. - Choose a color scheme
Choose a color scheme that is visually appealing and appropriate for your audience. For example, if you are presenting to children, you may want to use bright and bold colors, while if you are presenting to professionals, you may want to use more subdued colors. - Use whitespace
Use whitespace strategically to make your content easier to read and visually appealing. Whitespace can help to draw attention to important elements and make the content more readable. - Use fonts wisely
Choose fonts that are easy to read and appropriate for your audience. Avoid using too many different fonts, and use them consistently throughout your presentation or graphic. - Use icons and illustrations
Use icons and illustrations to help convey information visually. These elements can help to break up text and make the content more engaging. - Use visual hierarchy
Use visual hierarchy to make important elements stand out. This can be achieved through the use of size, color, and placement.
Test your Visuals
Test your visuals with a colleague or friend. It is a great method to ensure they are easy to understand and effective. Testing your visuals with someone else can help you:
- identify any issues with the content or design. Your colleague or friend can provide feedback on how well the visuals communicate the message and suggest improvements.
- improve their clarity. Your colleague or friend can tell you if the visuals are easy to understand and if any changes need to be made to make them more clear.
- ensure that they are effective in communicating your message. Your colleague or friend can tell you if the visuals reinforce the key points of your presentation or graphic.
- gain confidence in your presentation or graphic. By knowing that your visuals are clear and effective, you can feel more confident in presenting them to your audience.
Conclusion
Сreating effective educational presentations and graphics is an important part of engaging and educating students. By following best practices such as using relevant and high-quality visuals, simple language, and testing with colleagues, educators can improve the effectiveness of their presentations and visuals.
It is important to remember that today’s youth are energetic and easily distracted, but by taking the time to create engaging visuals, educators can keep their attention and make a positive impact on their education. With a little creativity and effort, educators can inspire and guide their students toward success, and perhaps even become a memorable part of their educational journey.