Image cropping is the first skill a novice PowerPoint user needs to learn. Here are three ways to do it right: from the simplest to the more complex.
- Start Cropping an Image to a Rectangle
- How to Crop Image to Custom Shape in PowerPoint
- How to Crop Image to Freeform Shape in PowerPoint
Start Cropping an Image to a Rectangle
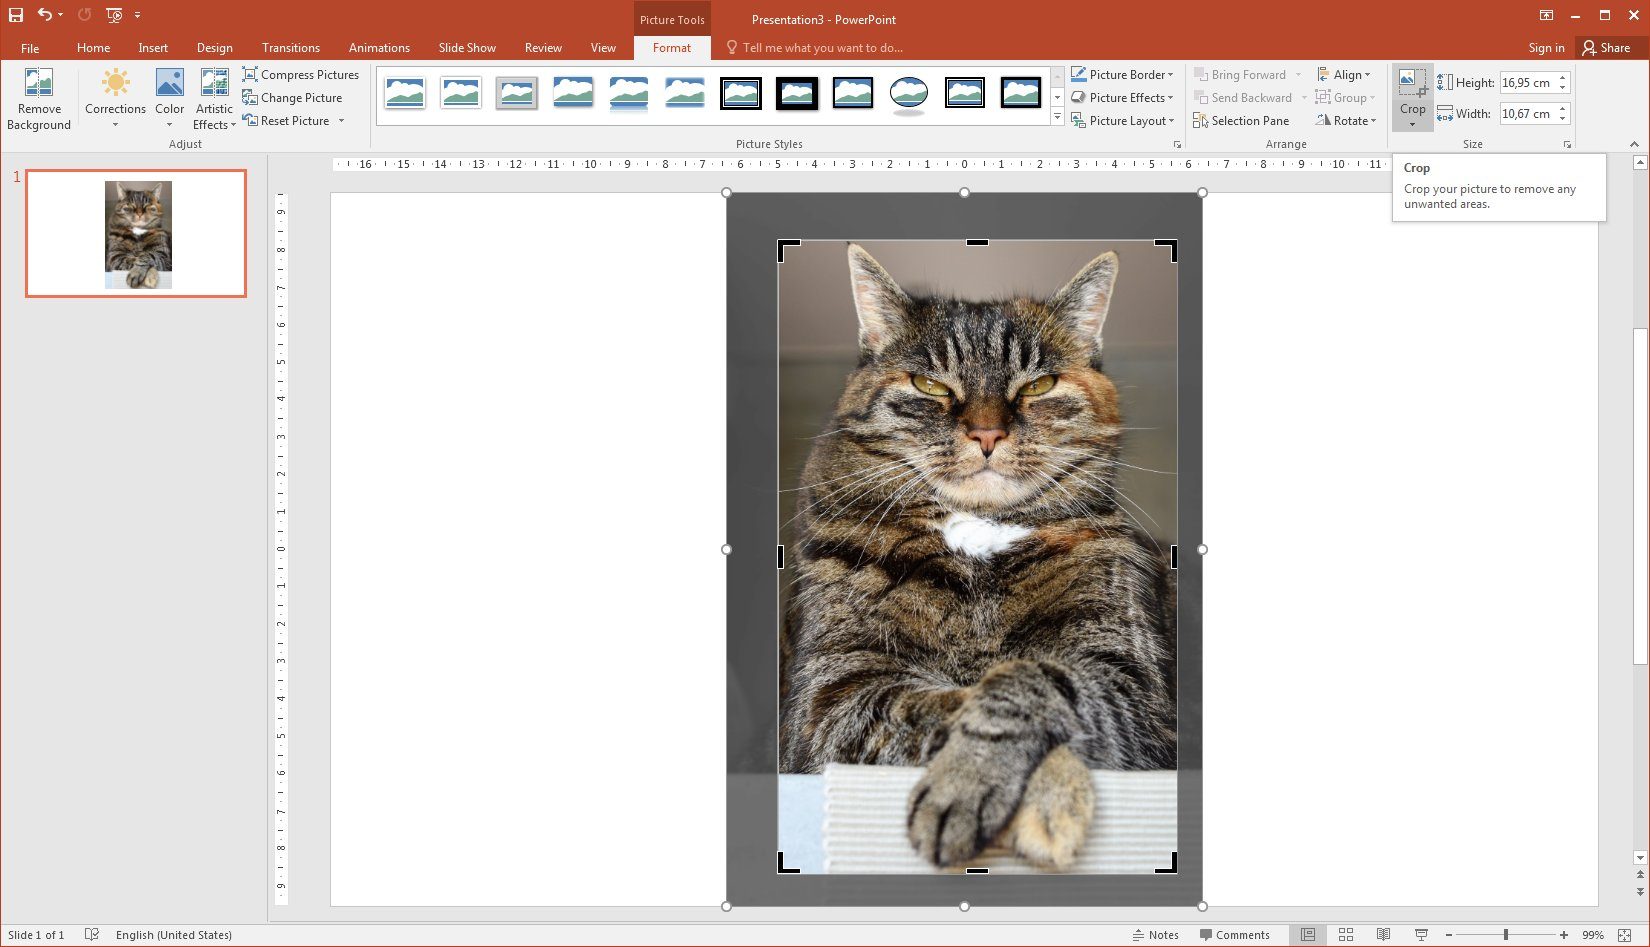
This is the easiest and most commonly used way to crop an image in PowerPoint. You only need to drive your mouse correctly. Can you do that easily, right?
And yes! We took a portrait of this impudent arrogant tomcat on the Pexels website 🙂
- Select your image.
- In the Picture Tools Format ribbon click the Crop button. The black cropping handles will appear.
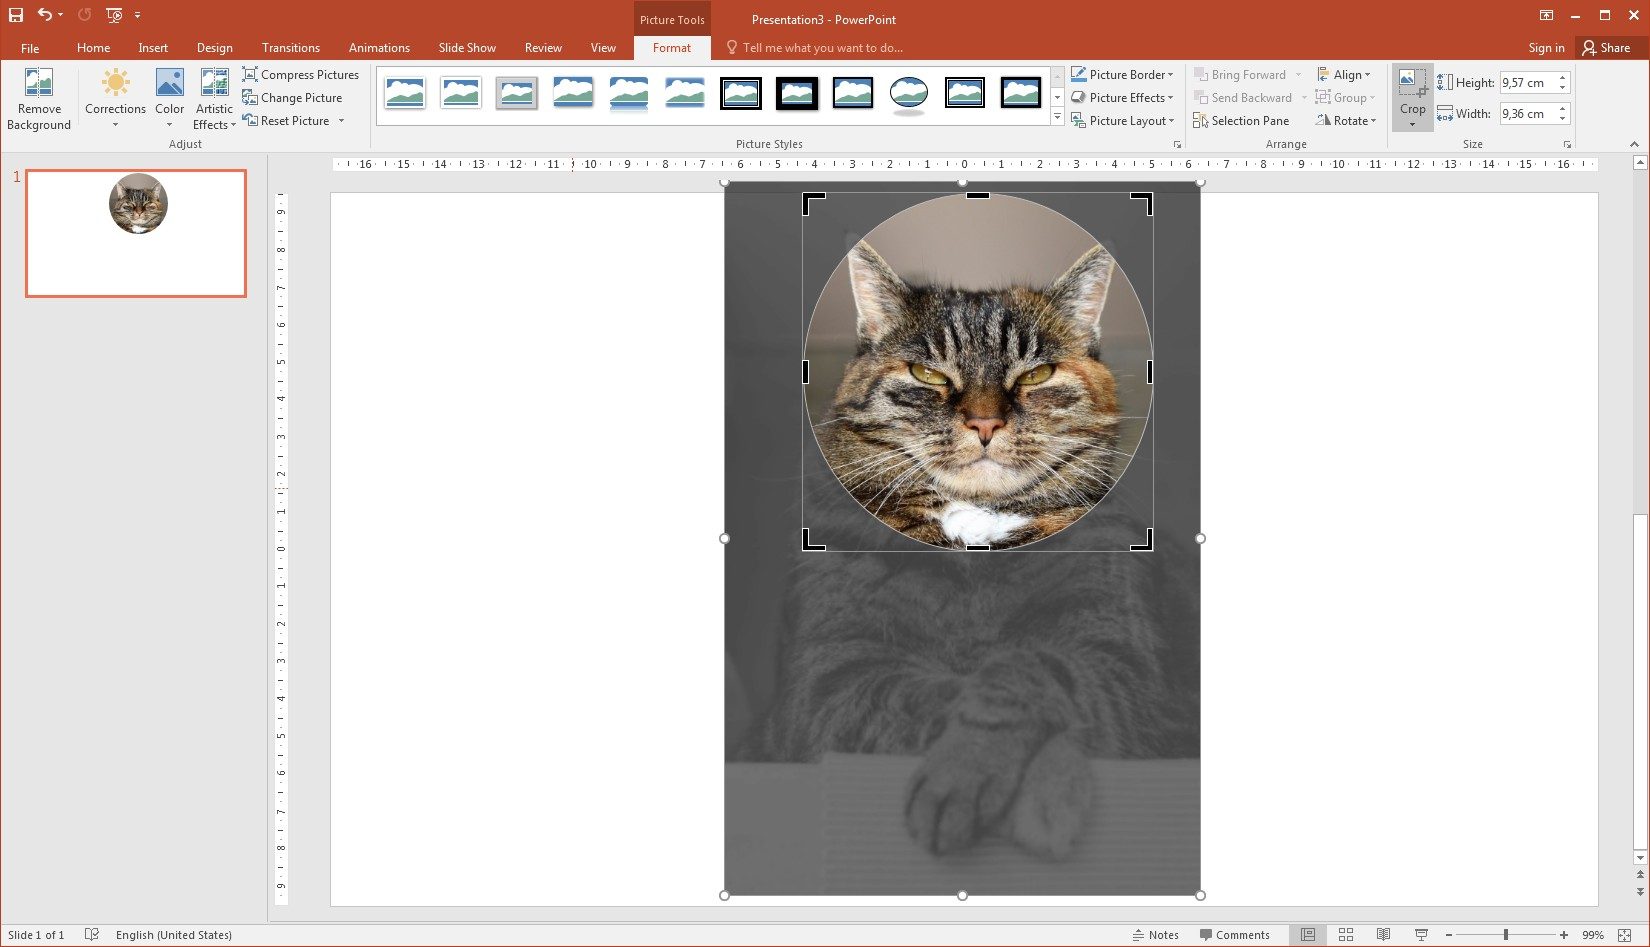
- Then resize:
- Click the Crop button again to crop the image.
How to Crop Image to Custom Shape in PowerPoint
Cropping an image to a simple shape also will not cause difficulties. You just need to follow the instructions below and everything will work out.
- Select your image.
- In the Picture Tools Format ribbon, click on the small arrow underneath the Crop button to display more options.
- Choose Crop to Shape from this menu, and select whichever shape you require. The shape will appear.
- Click on the Crop button. The black cropping handles will appear.
- Maybe this will not be exactly what you need, since by default PowerPoint stretches your chosen shape to cover the entire image.
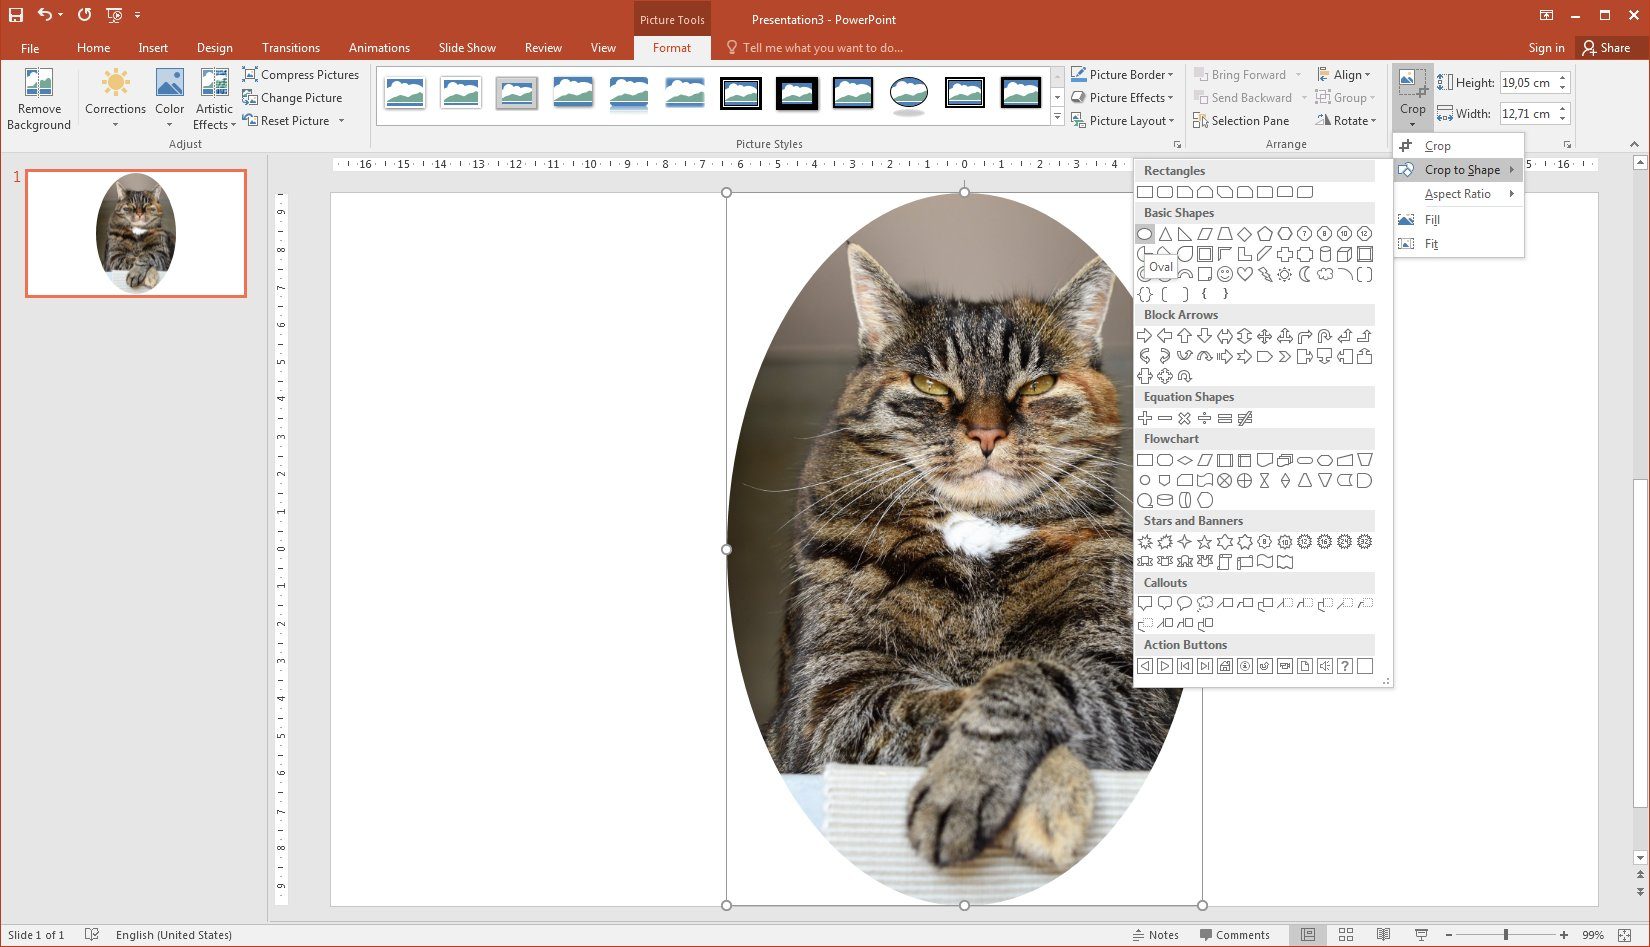
By default PowerPoint stretches your chosen shape to cover the entire image
To change the size, shape, or position of the cropped area resize: - Click the Crop button again to crop the image.
How to Crop Image to Freeform Shape in PowerPoint
You will find the Freeform tool (freehand crop) in the Auto Shapes menu. If you’ll be patient and accurate, mastering the techniques of working with it, then you’ll not regret the efforts made. This is a cool technique that you’ll want to use time and time again.
Draw a custom shape first…
- Draw a custom (Freeform) shape over your chosen image, tracing out the part of the image you want to keep.
- To create a shape, make regular clicks along the outline of your chosen object to drop points. This is exactly the part of your working with Freeform that requires patience and accuracy.
- Make sure you close the path of your custom shape by double-clicking after your final point is dropped. If you don’t:
- right-click on your shape,
- choose Edit points,
- then right-click again on any of the points you’ve made and click Close Path.
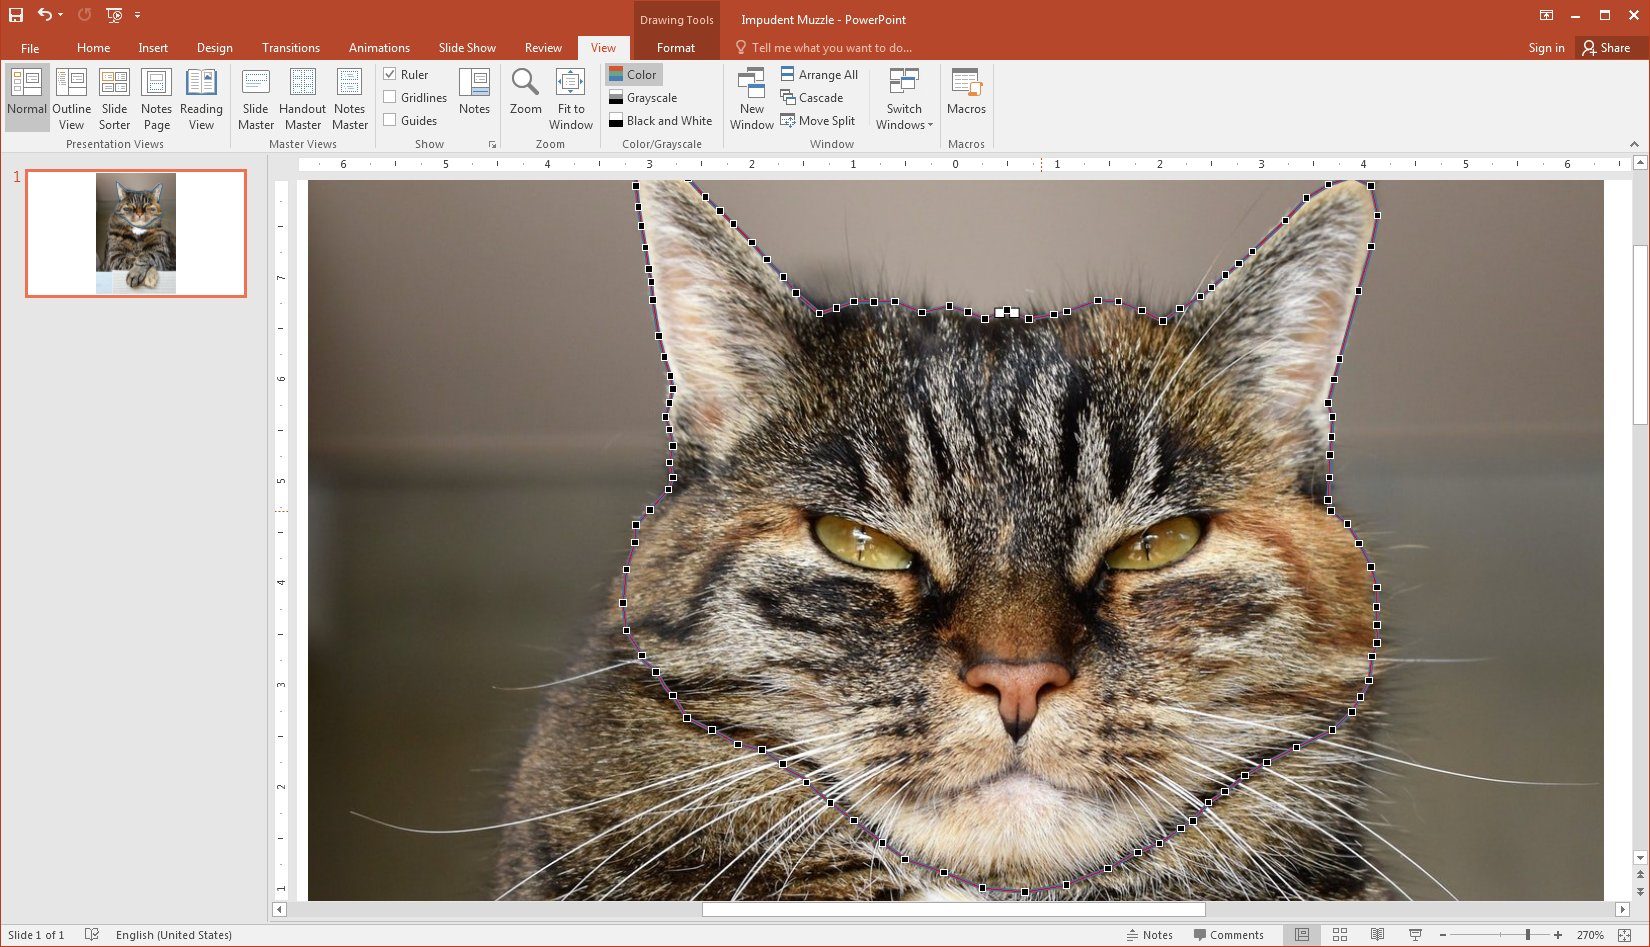
If your freeform shape doesn’t look quite right, you can right-click on it and select Edit points. This will allow you to move individual points to alter the outline until you get it right.
…then fill your shape with an image you cropping
Once you’re happy with the outline you’ve created, you need to fill your shape with a version of your image.
- Right-click on the original image and click Copy (or press Ctrl+C on your keyboard) to copy it to your clipboard.
- Now select your drawn shape and right-click on it:
- choose Format Shape. Format Shape pane will appear;
- on the Format Shape pane select Fill then Picture or texture fill;
- click on Clipboard to paste your image into the shape.
- Click on your shape, then click Crop from the Picture Tools Format ribbon. The black cropping handles will appear.
- You probably won’t like what you see, since by default PowerPoint shrinks your image to fit inside your shape.
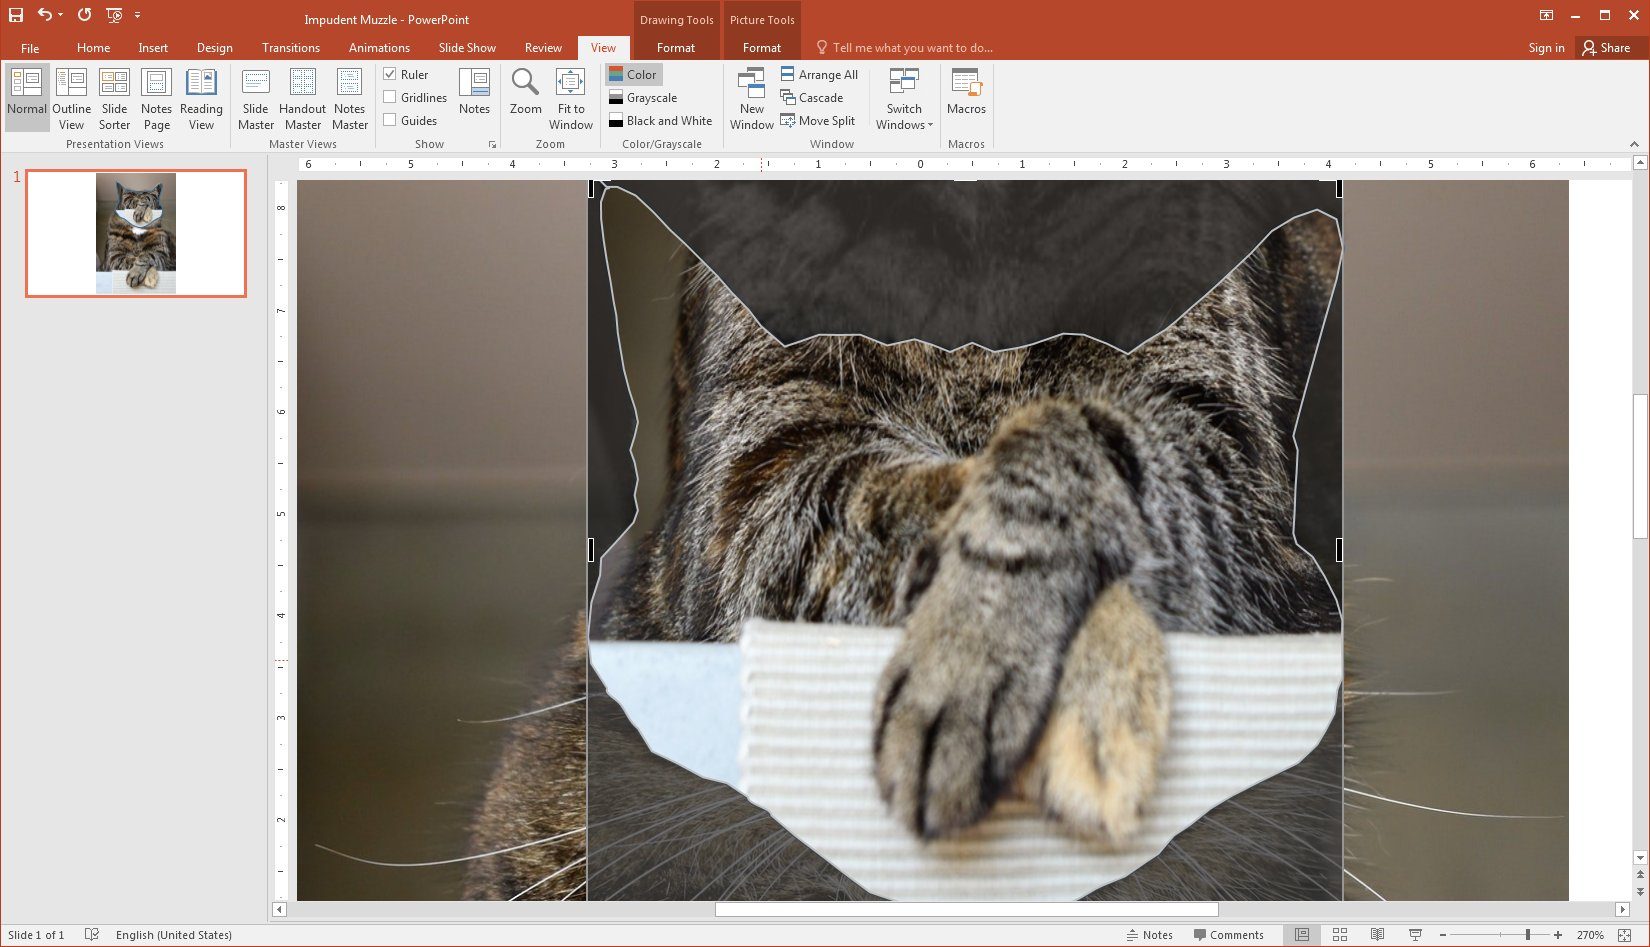
You probably won’t like what you see…
To change make it look right, you need to stretch the image inside your shape back to its original size and position:- use the white circle handles that appear to stretch the image to match the original behind it;
- position the image within the cropped area by dragging the image itself;
- don’t move the black cropping handles or you’ll lose your drawn shape.
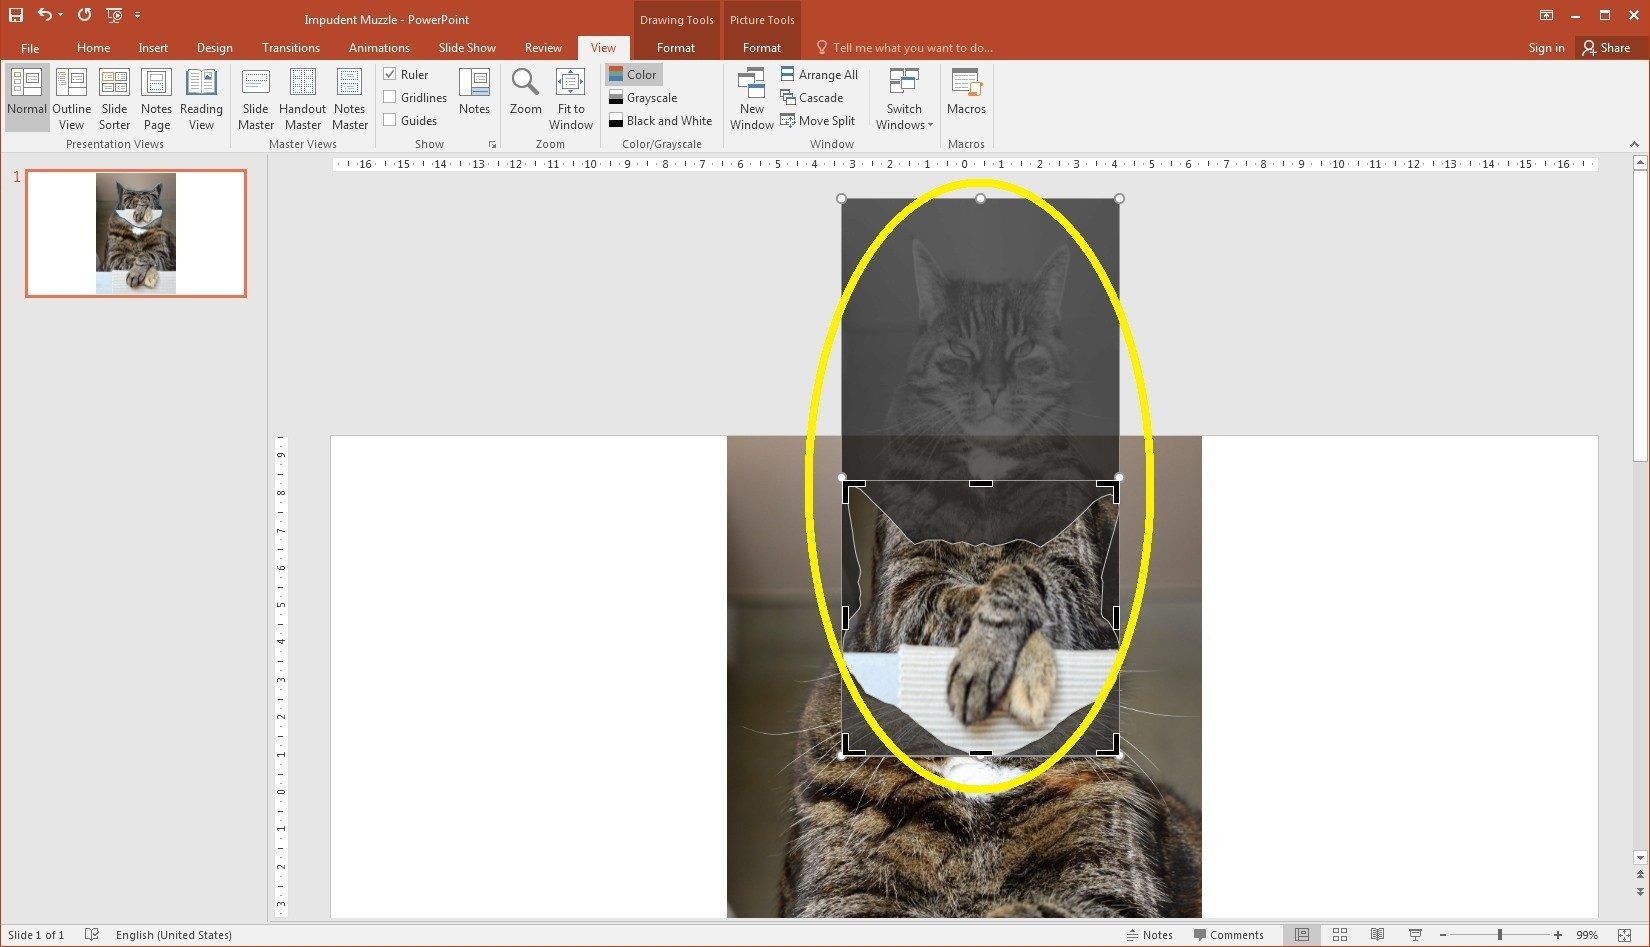
You need to stretch the image inside your shape back to its original size and position
- Once the image inside your shape matches the one behind click the Crop button to crop the image.
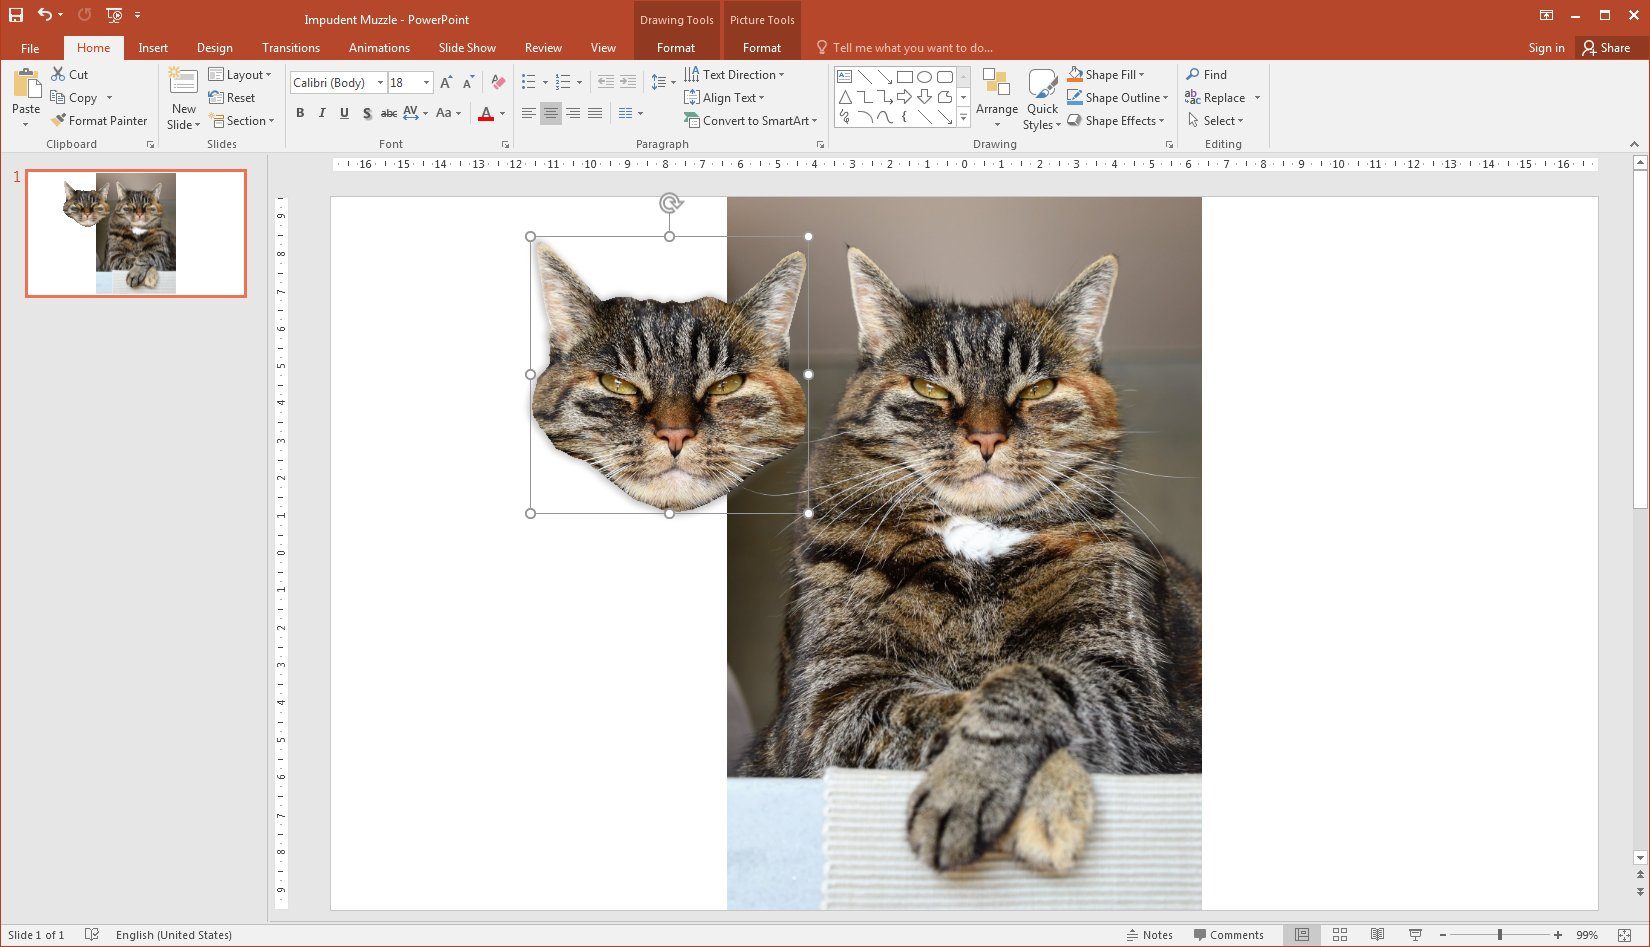
…and finally
Now you can delete the original image from behind or leave it there and apply some effect. You can also remove any outline that might your freeform shape may have had.
If your shape’s edges look a little jagged, you might want to add a drop shadow or apply the “soft edges” effect. This will blur the edges a little, giving it a slicker look. You can now sit your cropped image on top of any another, or leave it just as it is.
And that’s it, huh?
Uh … not really. There is another way of using Freeshape with Merge Shape tools in PowerPoint, but considering this technique goes beyond describing image cropping methods.


