
Look how many creative possibilities for designing slides using layers are provided by PowerPoint’s Merge Shapes tools. Now we can simply cut out parts of images and shapes, creating shapes as stencils.
Creating shapes as stencils
And yes! – this is a great way to attract the attention of the audience to a certain part of the slide, is not it?
Let’s get started right now:
The photo highlight
Using PowerPoint you can do some impressive image hacking. One great way to highlight part of an image is to use a colour hilight.
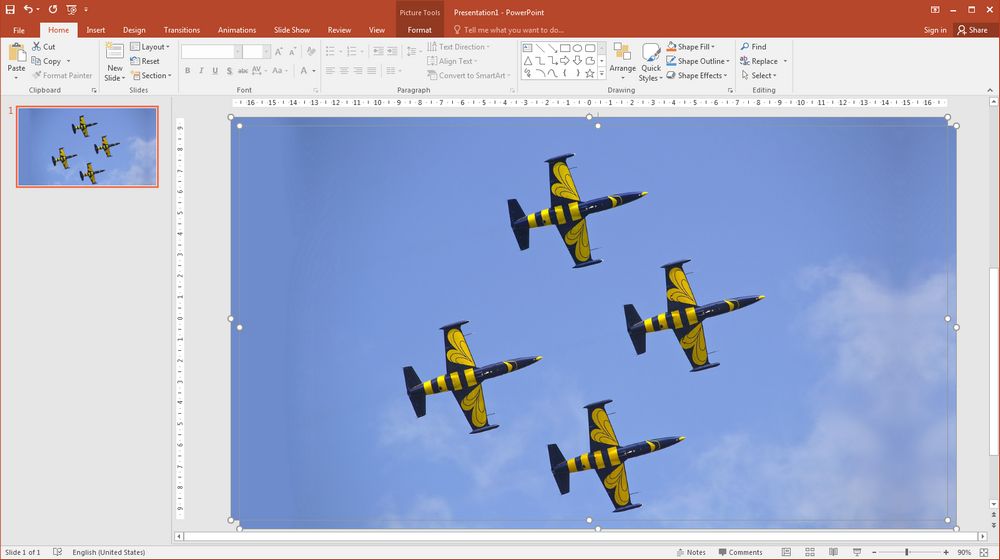
Start by pulling your image into PowerPoint, then Ctrl-D to duplicate it and line them up using the alignment tools, so that they sit one on top of the other.
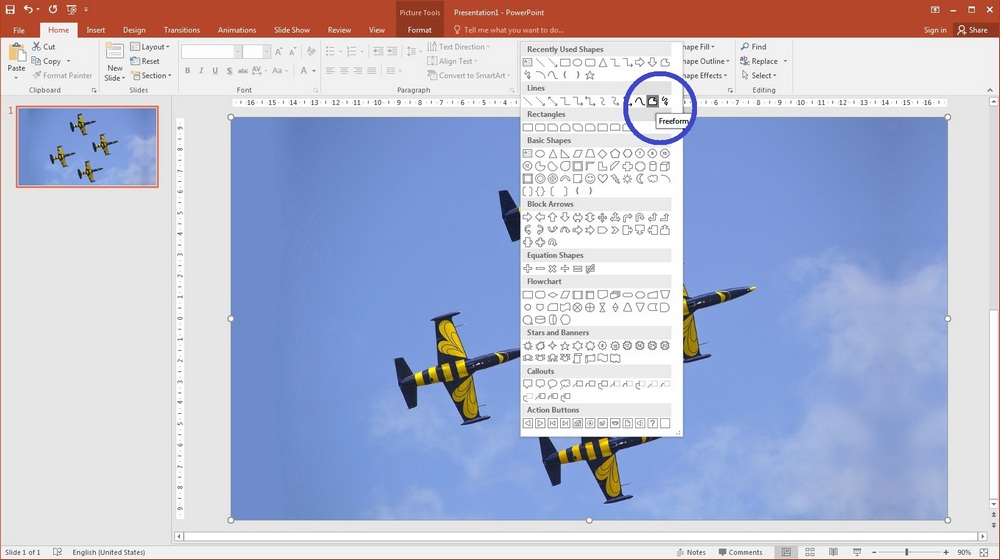
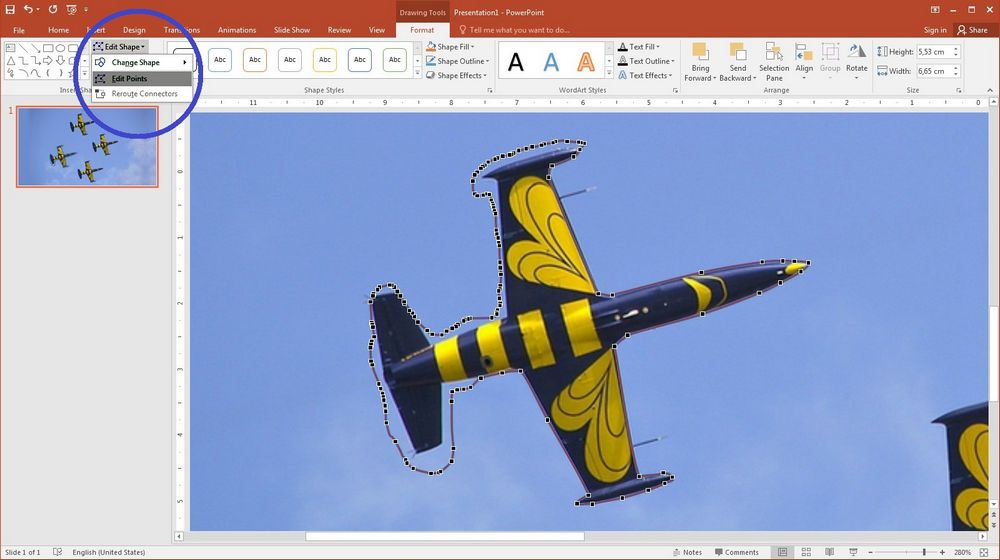
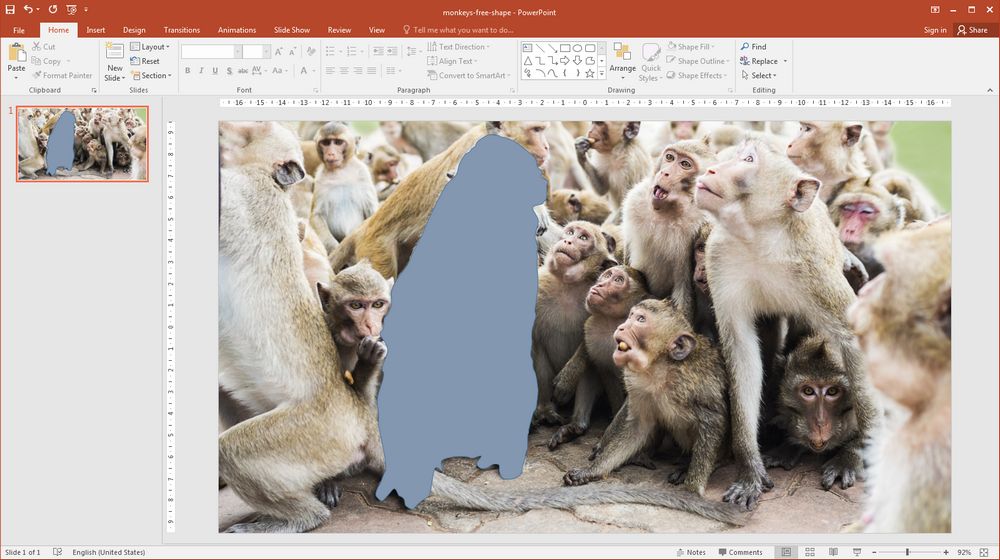
Use the Freeform tool (and Edit Points tool in Drawing Tools Format tab if you need) to draw around the object that you will be highlighting.
Then, select the top image and your shape, and use the Intersect Merge Shapes tool…
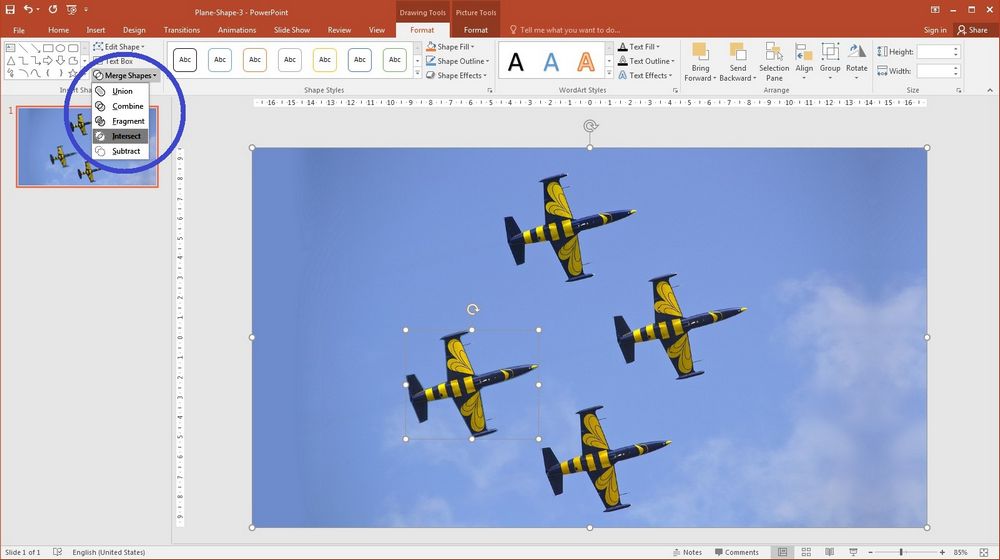
…to cut out the object from the image.
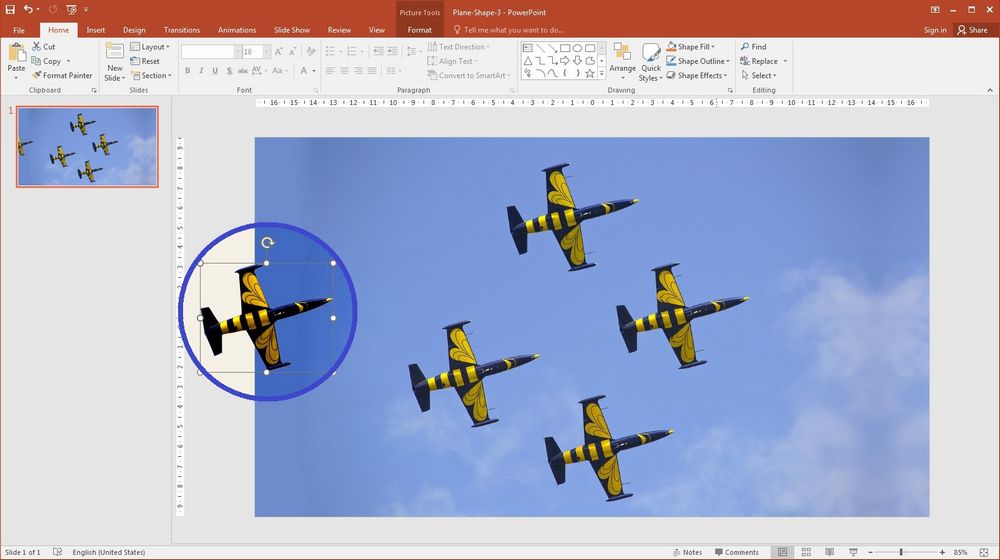
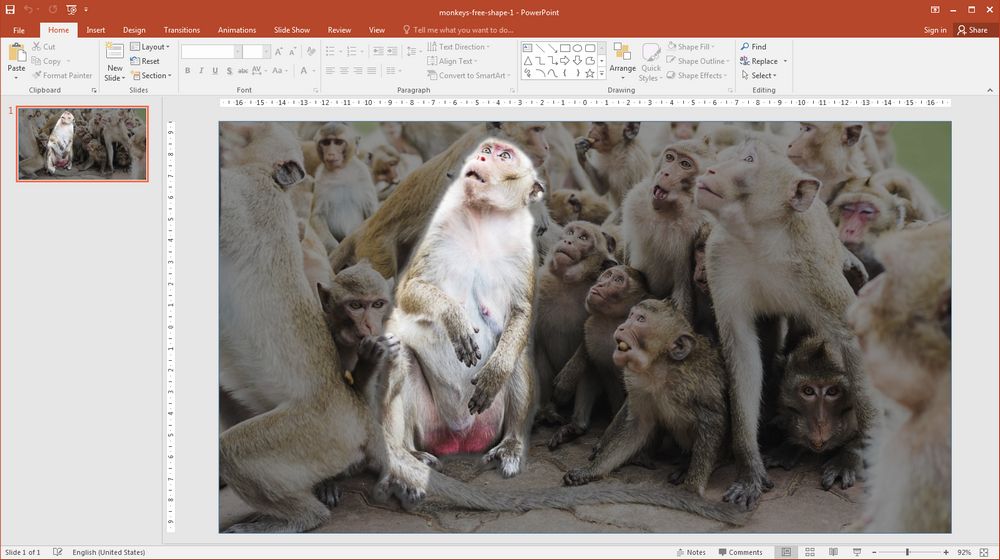
Finally, draw two circles, one slightly bigger than the other. Add a slight transparency to the biggest.
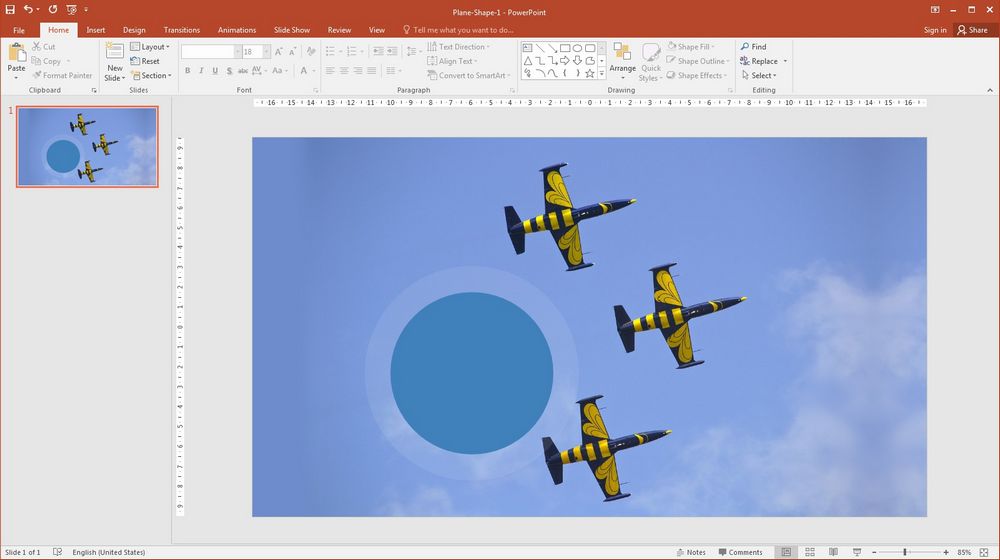
Then send its backward, so that your object sits on the top, the rest of the image on the bottom, and the circles sandwiched in between.
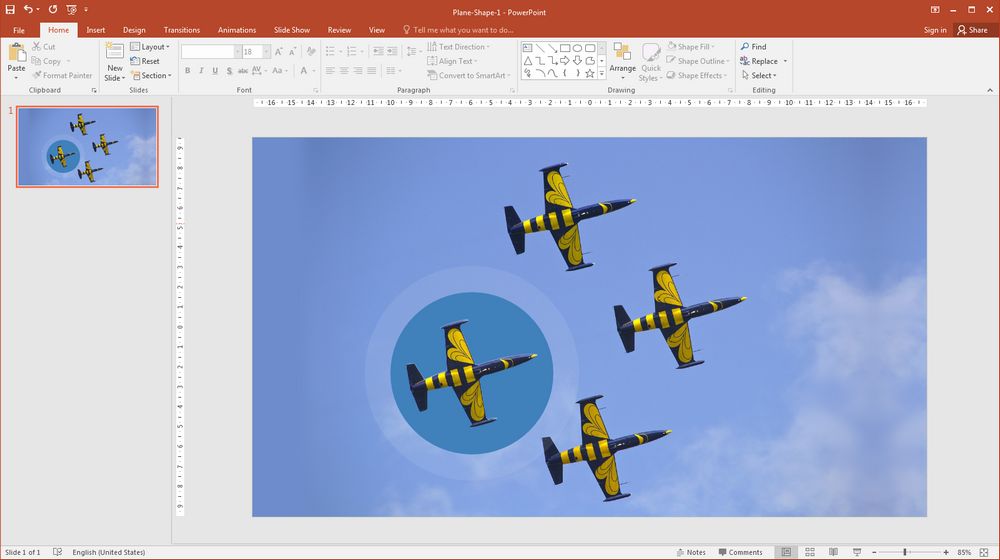
Highlight complete!
One of many
Being able to zone your audience’s attention in on a particular point in your slide is vital if you want your slides to make an impact.
Shapes as stencils can make image-heavy slides stand out by highlighting particular bits you would like to draw your audience’s attention to.
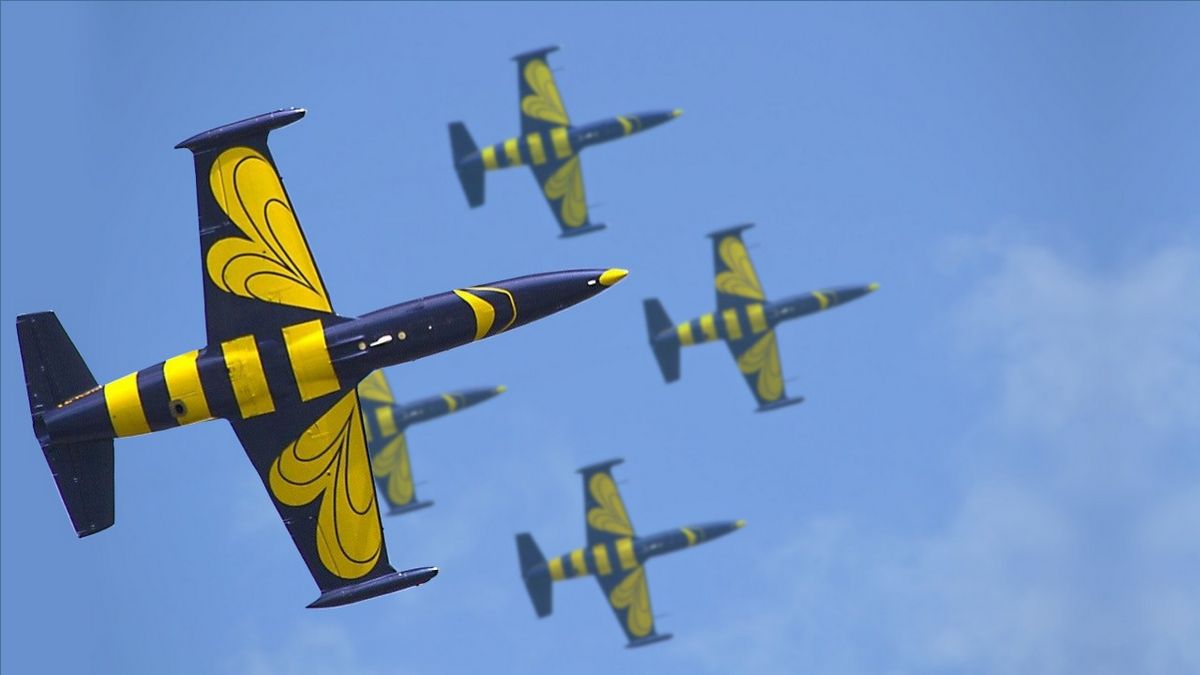
We took this picture with the monkeys from Freepik…

…and did with it everything that is written above, except for the last step.
If you repeat the actions after us, now do the following:
- Draw a box that covers the original picture.
- Fill it in either a very dark or very light colour.
- Format the object to make it semi-transparent.
- Use the Arrange tools to bring the freeform object to the front.

“Peeping” text stencils
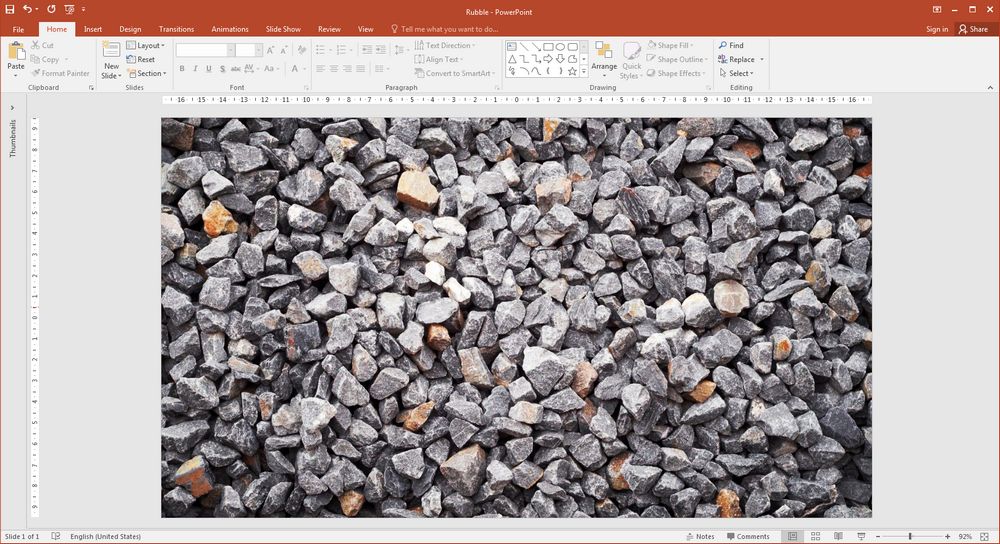
This trick allows you to use the color and texture of the background image to fill the text. We’ll tell about it using a photo taken from Pexels.
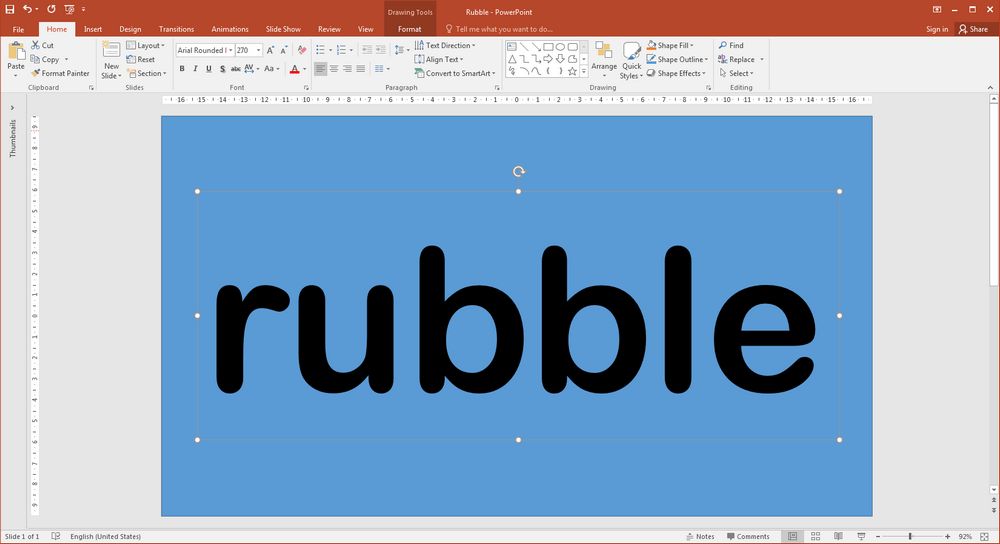
- Place your image in PowerPoint and draw a rectangular shape above it (or over the part of it).
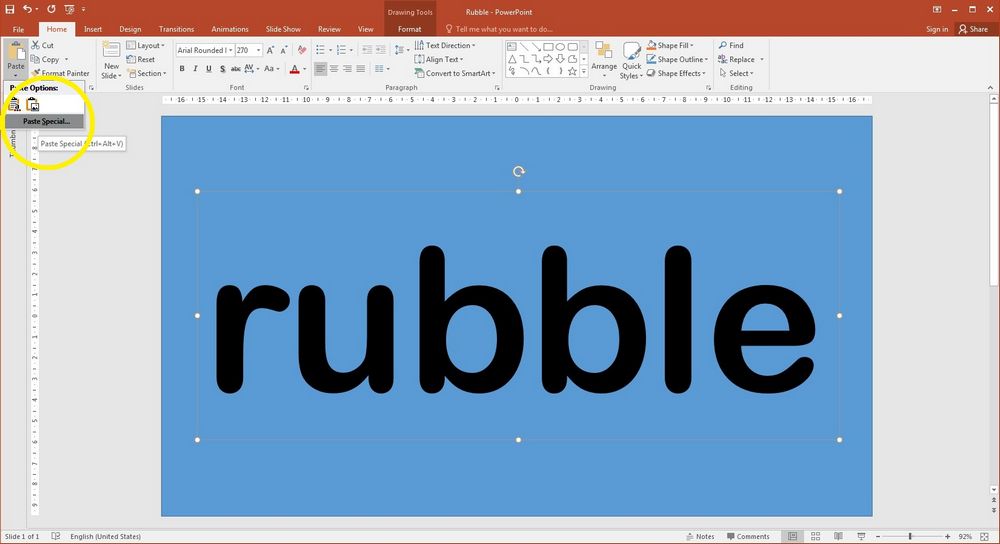
- Add your text, then copy the text box.
Add your text, then copy the text box - Select the drop down arrow on the Paste button in the Home ribbon, and choose Paste special.
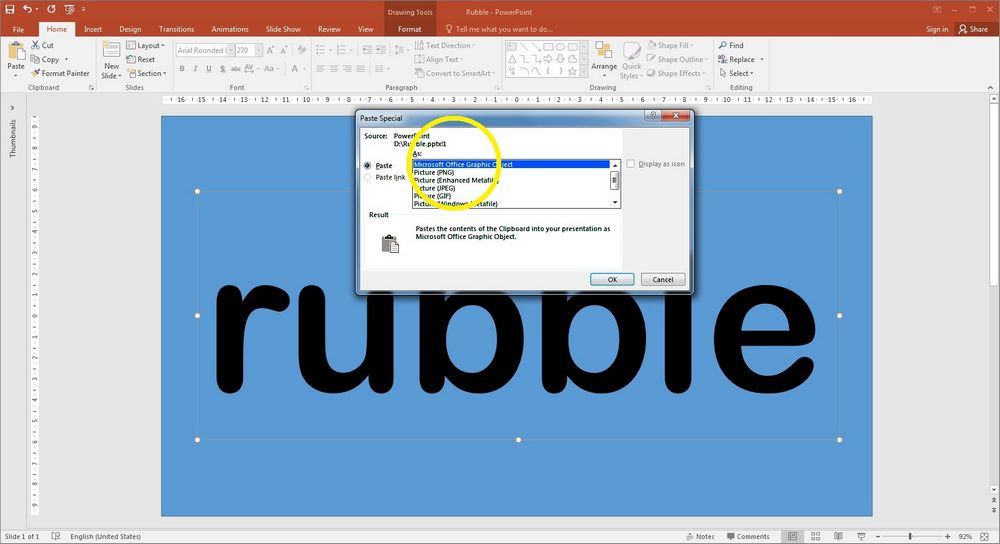
Choose Paste special - From the dialog box, choose Microsoft Office Graphic Object, which should insert your text again onto the slide.
Choose Microsoft Office Graphic Object - Delete the first text box, and position your pasted text where you want it.
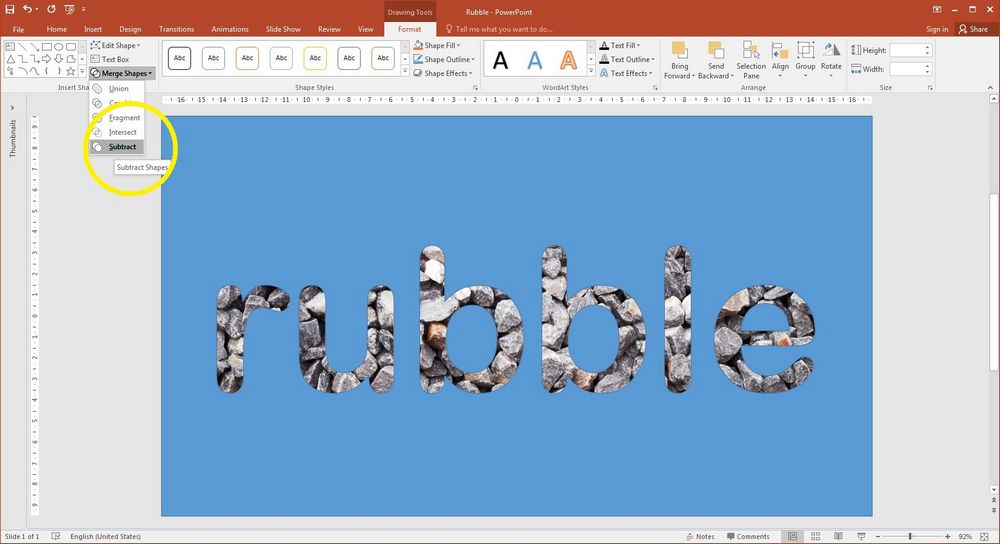
- Now click the rectangle shape, then hold Ctrl and click the text object.
- Navigate to Merge Shapes tool in Drawing Tools Format tab and select the Subtract to cut the text out.
Select the Subtract to cut the text out - Right click the shape and go to Format shape, choose Fill, then select colour and transparency you preferred.

Select colour and transparency you preferred