
Creating a professional presentation used to mean hours of manual work — planning slide structure, organizing content, designing layout… But not anymore. With the AI Presentation Maker by PoweredTemplate, you already have the power to generate entire presentations in just a few clicks. And now, we’re excited to announce a brand-new feature that takes this convenience to the next level — the customizable outline.
This smart new step lets you take full control of your presentation’s structure before the slides are generated. Want to remove a slide, add a new one, adjust the title or key points? No problem. The customizable outline gives you the freedom to shape your presentation exactly the way you want — fast, easy, and intuitive.
Let’s take a closer look at how this works, why it matters, and how it fits into the overall experience with the AI presentation maker from PoweredTemplate.
Skip ahead:
- Why Customizable Outline Is a Game Changer
- What the Customizable Outline Looks Like
- Take Full Control: How the Customizable Outline Interface Works
- Built for Flexibility, Designed for You
- Ready to Try It?
Why Customizable Outline Is a Game Changer
In earlier versions of the AI presentation maker, the process was simple: answer a few smart questions, pick a template, and get a full presentation tailored to your input. But there was one thing missing — the ability to review and edit the structure of your slides before they were generated.
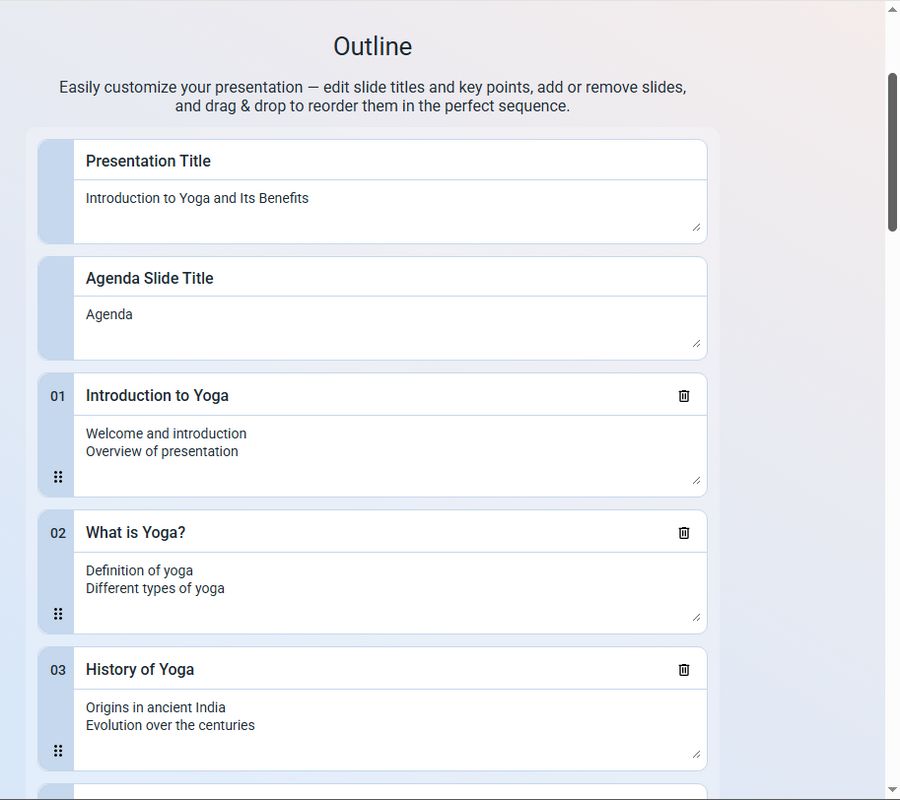
With the introduction of the customizable outline, that gap is closed. You now have a clear, editable preview of your future presentation — slide by slide — with the ability to adjust everything from the Presentation Title and Agenda Slide Title to the individual slide titles and the core message of each one.
Each item in the outline is essentially a blueprint for an upcoming slide. The AI will use this as its creative guide when generating your final presentation. And the best part? You don’t need to be a designer, a copywriter, or even a PowerPoint expert. Just structure your message — the AI will take care of the rest.
What the Customizable Outline Looks Like
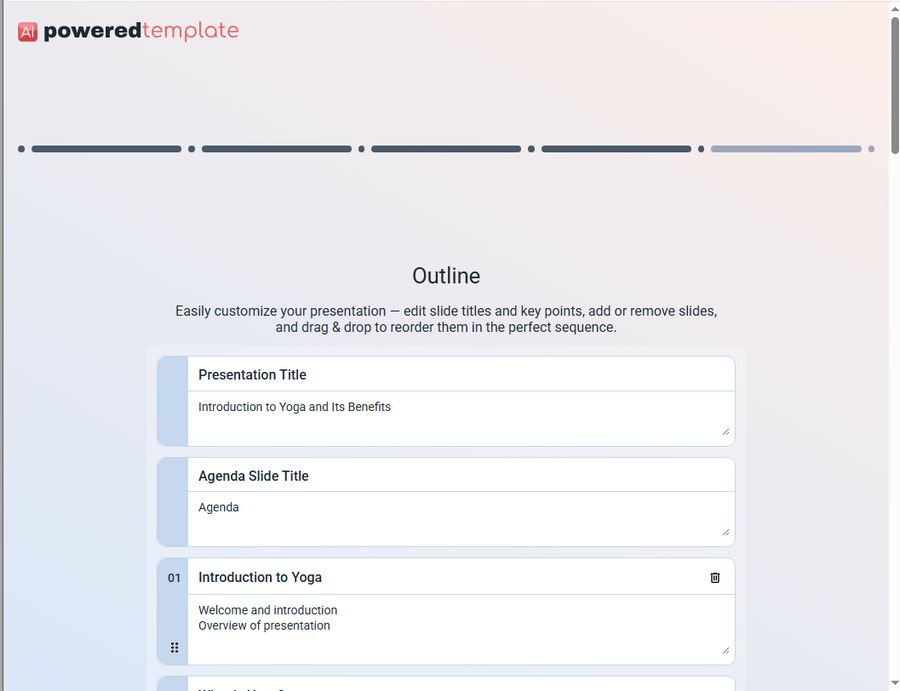
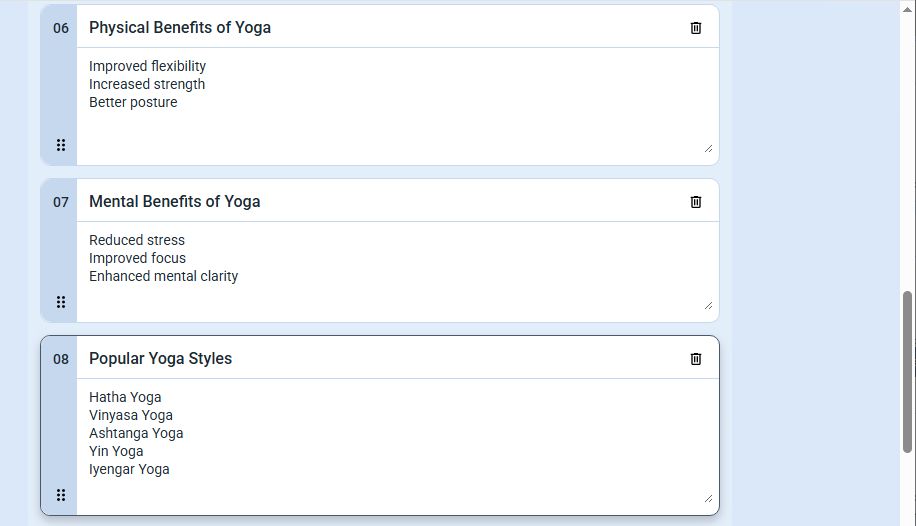
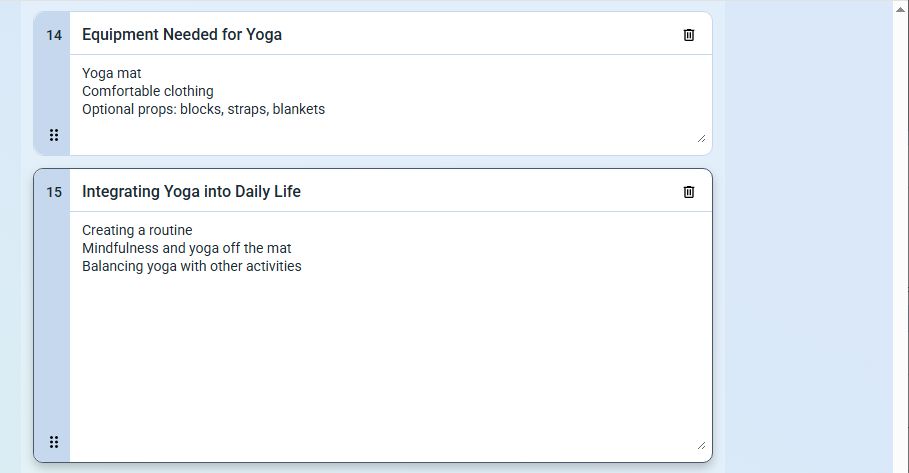
Once you’ve answered the initial questions, you’ll be taken to the new customizable outline screen — a simple, intuitive interface where each slide is represented as a visual block.
Every outline element follows the same clear structure:
- Slide number — so you always know where you are in the sequence.
- Editable slide title — click and type to update it instantly.
- Editable key points — these are the key ideas the slide should communicate. Think of it as a mini-outline within the outline.
- Three intuitive icons for easy interaction:
- 🗑️ Delete (trash icon) — top right corner
- ◢ Resize — bottom right corner
- ⋮⋮ Drag (six-dot handle move icon) — bottom left corner
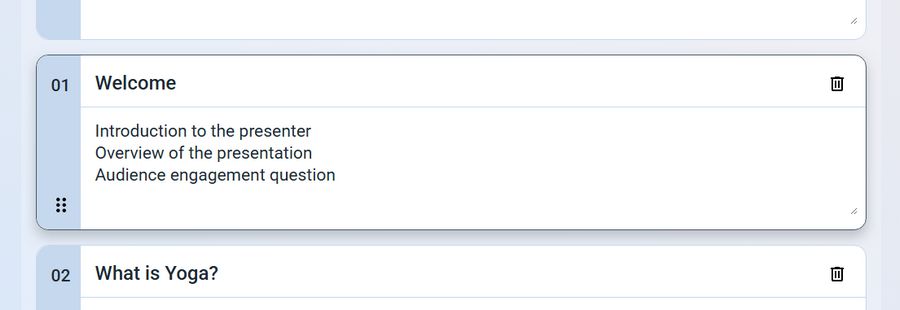
These visual cues make working with the outline not just efficient, but actually fun. There’s no clutter, no steep learning curve — just a clean layout that invites you to interact.
Take Full Control: How the Customizable Outline Interface Works
Let’s break down what each element does:
🗑️ Delete a Slide

Click the trash can icon in the top right corner to remove a slide from your outline instantly. Deleted something by accident? Don’t worry — Ctrl+Z has your back. Undo works just like you expect.
◢ Resize the Block
Grab the resize handle in the bottom right corner to adjust the visual size of the block. If your key points don’t fit or you just want more space to think — stretch it out.
⋮⋮ Drag to Reorder
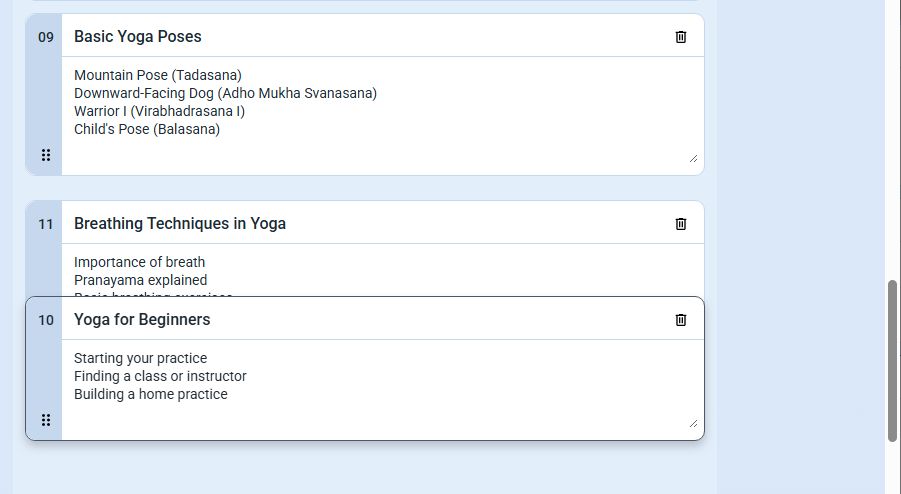
Need to change the sequence of your presentation? No need to start over. Just click and drag the six-dot handle icon in the bottom left corner to place the slide exactly where you want it in the flow.
Editing is great — but what about expanding your message? The customizable outline makes that simple too.
Add a Slide Between Existing Slides
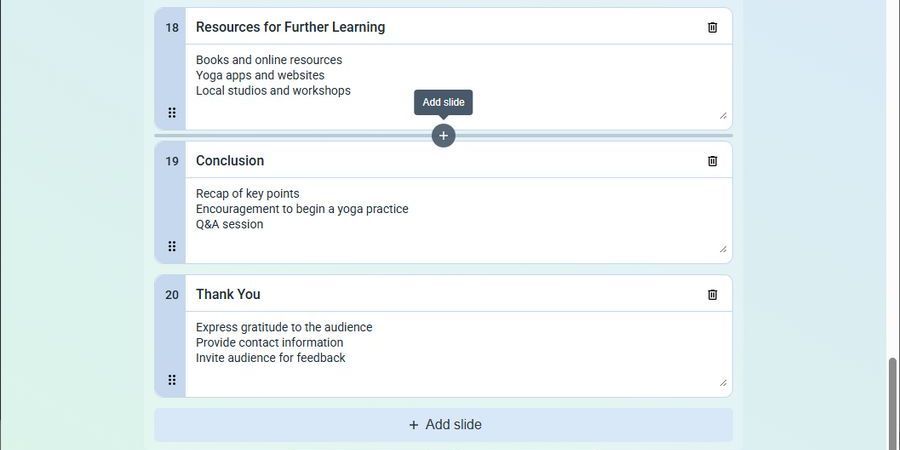
Just hover your mouse between any two existing outline blocks. A floating Add slide button will appear. Click it, and voilà — a brand-new slide block is added right there.
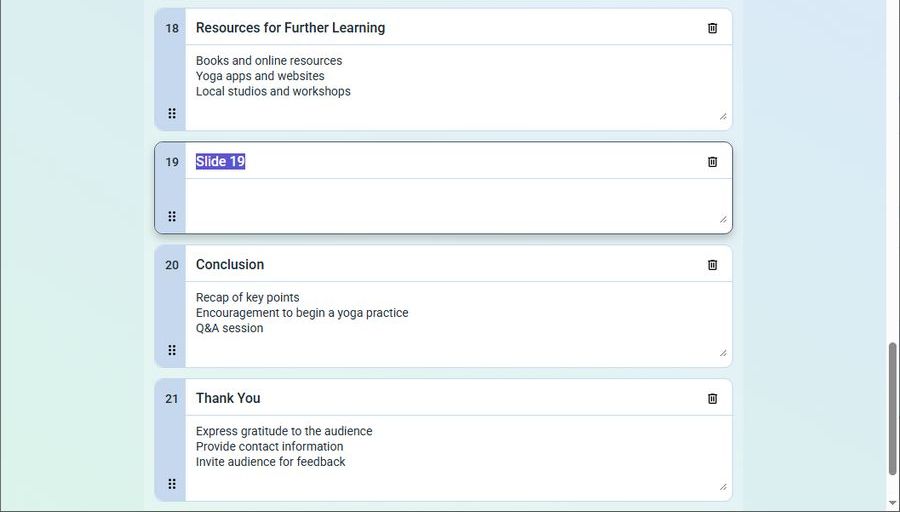
You can enter your slide title and key points immediately. The AI will take care of the design and formatting when the presentation is generated.
Add a Slide at the End
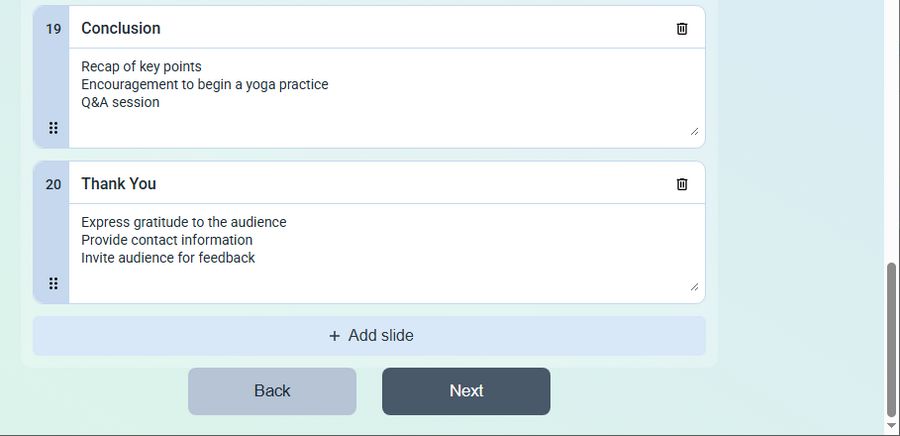
At the bottom of your outline, you’ll find a large + Add slide button. One click, and your new slide is added at the end of the outline. Again, just enter the title and key details — and let the AI presentation maker do the rest.
This process makes it incredibly easy to expand, reorganize, or refine your presentation in real-time. You stay in control — and the technology works for you.
Built for Flexibility, Designed for You
The customizable outline is more than just a new step in the AI presentation maker. It’s a design philosophy — one that puts you at the center of the creative process.
Whether you’re pitching an idea, summarizing research, or planning a team meeting, you now have the tools to organize your message exactly the way you want. And because it’s all built into the streamlined experience of the AI presentation maker by PoweredTemplate, you’re never more than a few clicks away from a polished, professional result.
This is what smart presentation design looks like in 2025 — fast, flexible, and driven by AI.
Ready to Try It?
The new customizable outline feature is live now inside the AI presentation maker on ai.poweredtemplate.com. It’s the easiest way to take control of your content — without slowing down your workflow.
Give it a try today. Shape your outline. Let the AI handle the rest. And deliver presentations that hit the mark — every time.