

That means the quality of your finished video depends largely on the quality of the pieces it is built from:
- if you start with a bad PowerPoint presentation, you will end up with a bad video;
- if your narration is poorly planned or poorly delivered, you will end up with a bad video.
Use this guide to creating high-quality, engaging video from PowerPoint for use on YouTube or other video services.
Start with a quality presentation
An easy way to make your presentation better from the very start is to use a PowerPoint template. There are a number of templates you can download and use at PoweredTemplate.com
Starting with one of these templates will help your presentation look more professional.

The next step in creating a quality presentation is to review the Designing visuals for presentations 2019. They include some simple things you can do to create an effective presentation.
Plan Your Narration
Once you have your presentation ready, you can add your narration — a critical element in a video created from PowerPoint. Your narration needs to be concise, thoughtful and engaging.

The best way to achieve this is to plan.
Some people like to write out everything they are going to say. If you choose this method, be sure to include the transitions to the next slide in your script, so you will know when to advance the slides. Writing out your script can be effective, but be sure not to read directly from that script when recording your narration.
You would never read directly from a script when presenting in person, so don’t do it when recording your narration. Reading from a script makes your narration sound unnatural and monotone.
You can achieve a more natural sounding narration by reading and rehearsing your script, but relying on an outline of your script when recording. Take the highlights from each section of your script and put them in an outline as a visual reminder to keep you on track without reading directly from your script.
Recording Your Narration
When recording your narration, close your office door and put up a sign to avoid interruptions. Be sure to forward incoming calls directly to voicemail and turn off your mobile phone. There is nothing more frustrating than having to start a recording over because of an interruption.
For creating a video from PowerPoint use a headset microphone, not the built-in microphone on your computer or webcam. USB headset microphones tend to give you a better sound, but they are more expensive than microphones that connect through your computer’s microphone jack.
- When you record a narration, you run through the presentation and record each slide. You can pause and resume recording any time.
- Ensure your microphone is set up and in working order prior to recording your slide show.
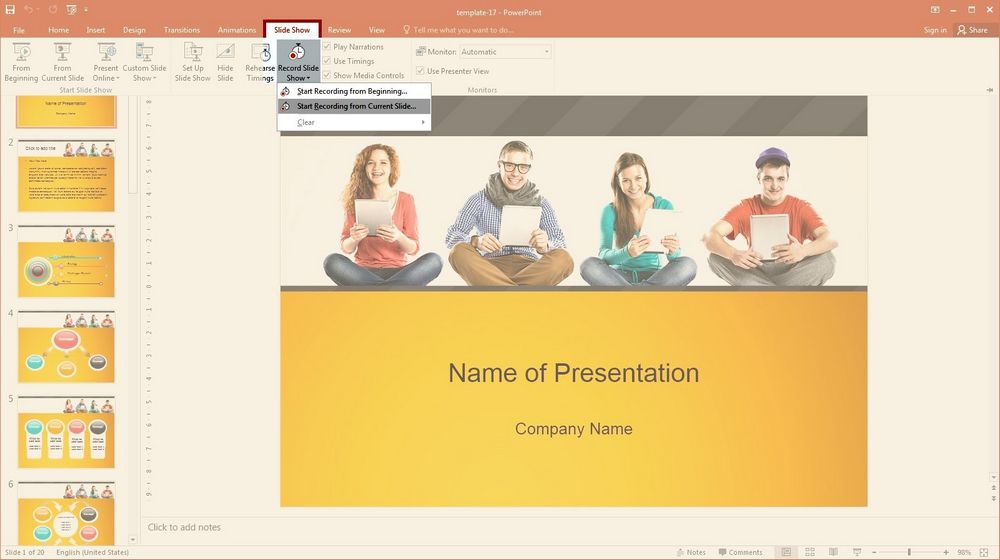
- On the Slide Show tab, in the Set Up group, click Record Slide Show.
- Select one of the following:
- Start Recording from Beginning
- Start Recording from Current Slide
On the Slide Show tab, in the Set Up group, click Record Slide Show - In the Record Slide Show dialog box, select the Narrations and laser pointer check box, and if appropriate, select or deselect the Slide and animation timings check box.
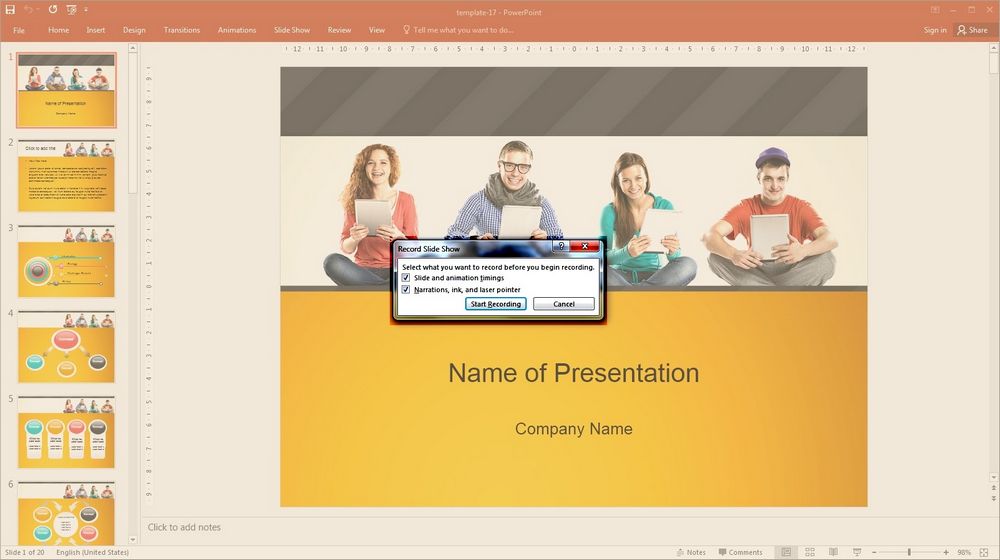
- Click Start Recording button.
To pause the narration, in the Recording shortcut menu, click Pause. And to resume your narration, click Resume Recording. - To end your slide show recording, right click the slide, and then click End Show.
- The recorded slide show timings are automatically saved and the slide show appears in Slide Sorter view with timings beneath each slide.
Creating a Video
Once you have your narration recorded, you can save your presentation as a video.
- Save the presentation.
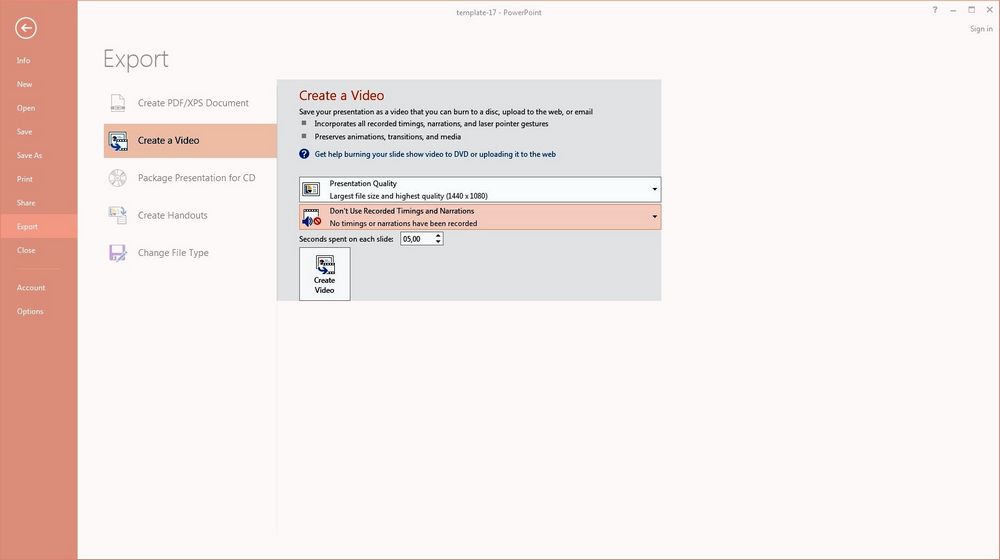
- On the File menu, click Export.
- Under Export, click Create a video button.
- To display all video quality and size options, under Create a video, click the Presentation Ouality down arrow.
- Choose Presentation Quality
- Click the Don’t Use Recorded Timings and Narrations down arrow and click Use Recorded Timings and Narrations.
- Press Create Video.
- In the File name box, enter a file name for the video, browse for folder that will contain this file, and then click Save.
You can track the progress of the video creation by looking at the status bar at the bottom of your screen. The video creation process can take up to several hours depending on the length of the video and the complexity of the presentation.
Once the video is saved to your computer, you can upload it to YouTube.