
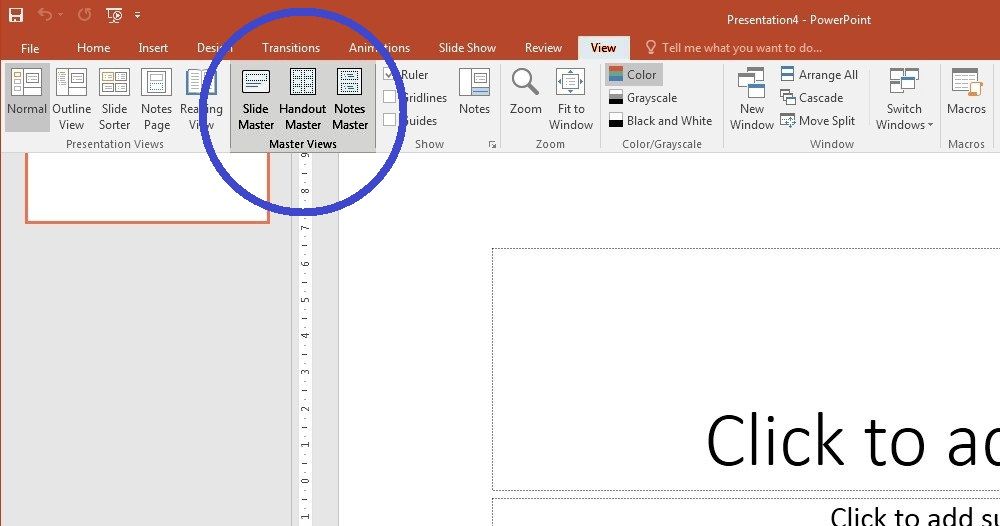
Below we’ll briefly go through 3 Master Views tools that will help you quickly become a master in PowerPoint:
- Slide Master,
- Handout Master,
- and the Notes Master.
PowerPoint Master Views group
These masterful Master Views will help you become a master in PowerPoint. From the Slide Master View to the Notes Master View, these features help you optimize development time, and keep you organized when presenting.
We’ll guide you through each of the views and show you how they are vital to mastering PowerPoint.
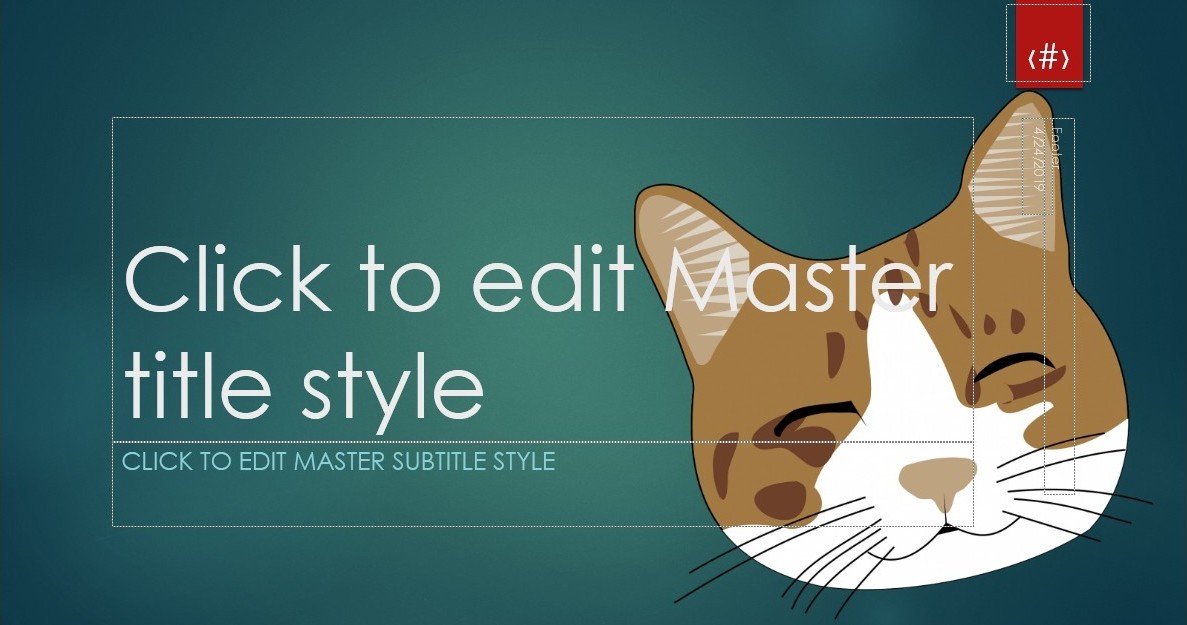
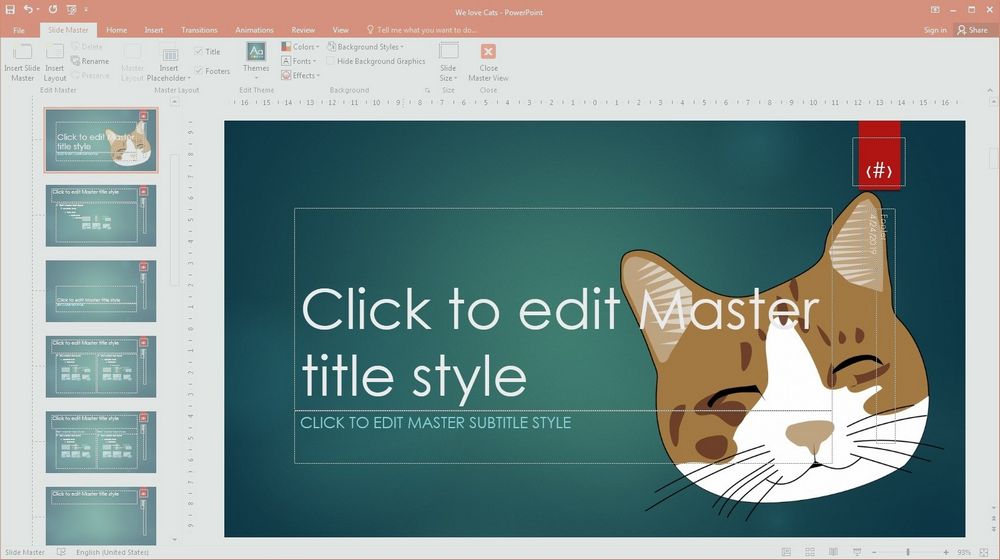
PowerPoint Slide Master
The Slide Master View allows you edit and create your own layouts. In these layouts you can add pictures, text, and even graphs and SmartArt.
When you edit and create layouts in Slide Master view, the changes you make to existing layouts will be apparent. So to avoid confusion (and accidentally messing things up), you will want to insert a new layout. Once you have done that you can insert pictures, text, etc.
Once you are done editing the Slide Master, you can save it out and use it in different projects. This really helps when creating presentations that may have similar layouts.
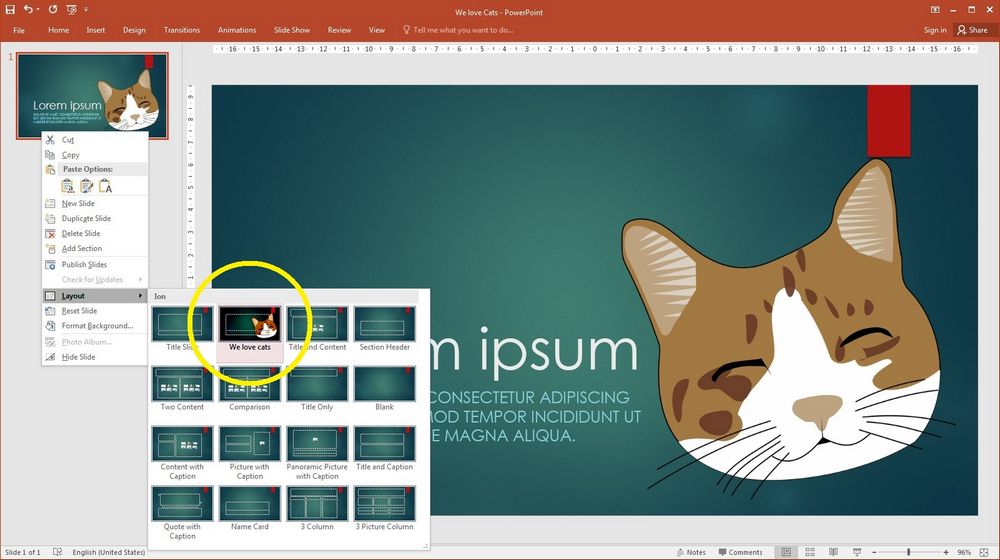
Once you are done creating and modifying layouts, exit the Slide Master and on the Home tab on the main ribbon, you can insert the layout directly into your existing project by right clicking on the slide you would like to insert the layout onto.
Then, scroll down to Layout and select the layout that you created.
Note that you will not be able edit the inserted Master Slide while not in the Slide Master View.
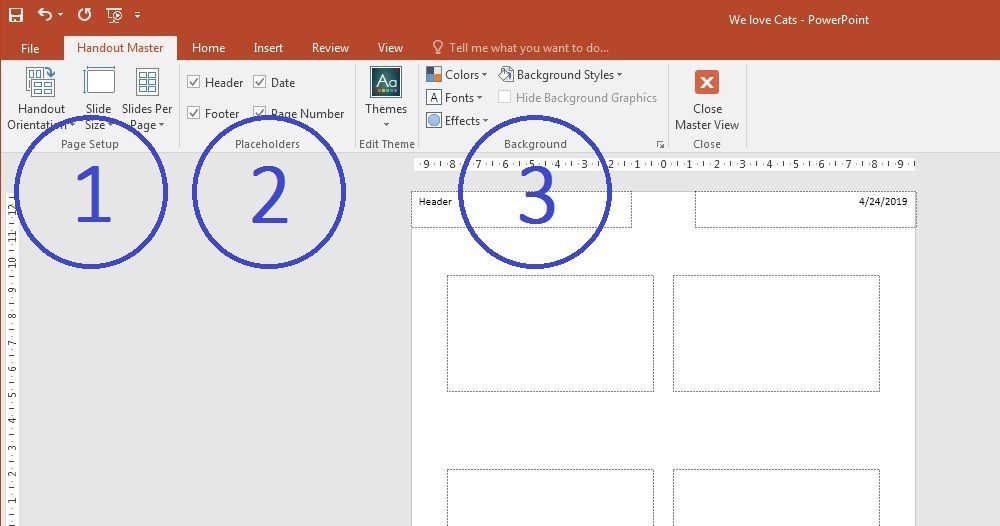
PowerPoint Handout Master
The Handout Master has everything to do with the layout of your presentation as it is printed out on paper. There are many things that you are able to change while in this view.
For example,
- In Page Setup group you can change:
- the orientation from Landscape to Portrait,
- the size of the slides displayed on the page,
- how many slides are shown per page.
- In Placeholders group you have the choice to select/deselect headers, footers, page number, and the date from showing on the page.
- Backgrounds group allows you to modify the background style. You:
- can choose to add a solid color or gradient to be the backdrop on your handout,
- also have the option to add an image from your personal library.
Once you have finished editing in the Handout Master, you can go File > Print and you will be given a preview of your handout.
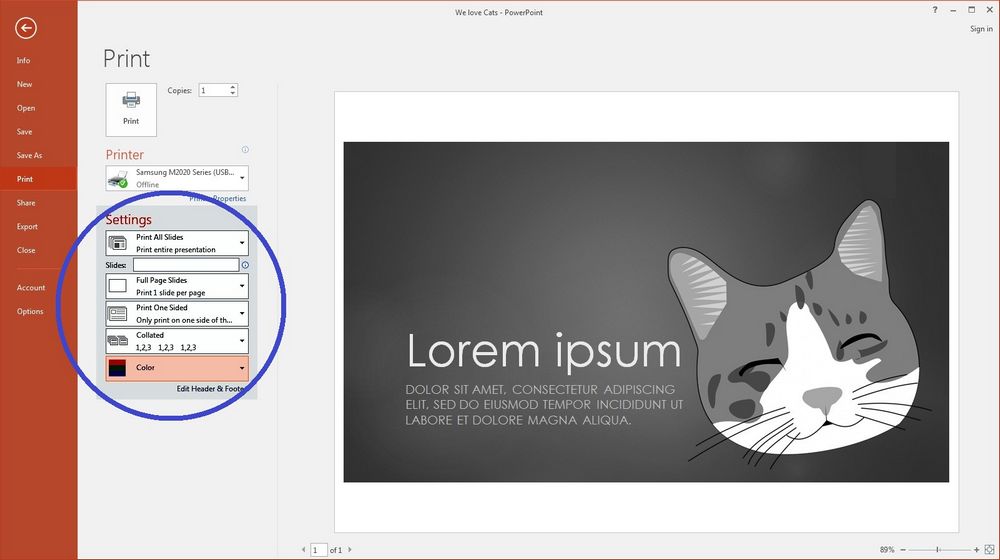
If you don’t like the look of it, you can quickly make changes without leaving the print screen.
Notes Master
The Notes Master is very similar to the Handout Master.
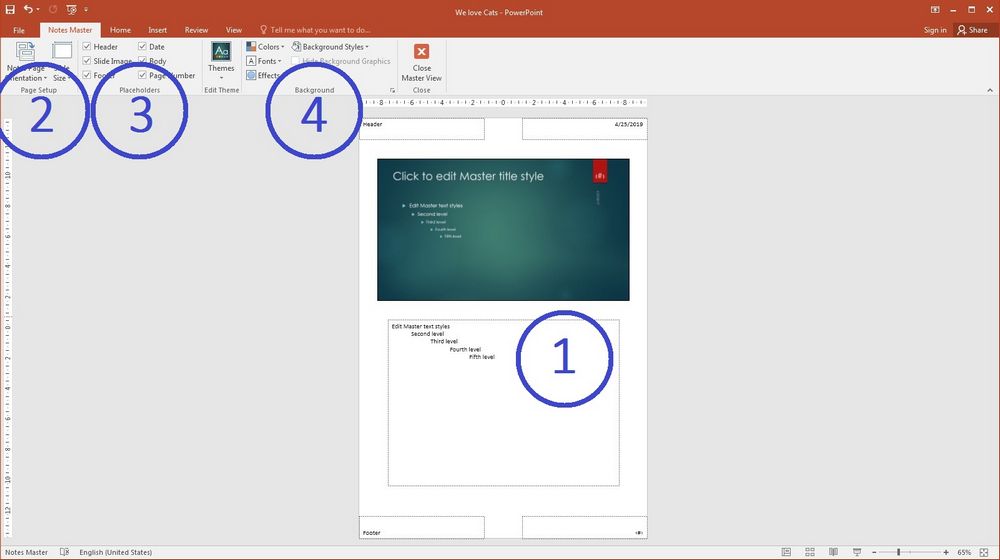
- In the Notes Master you are given one layout to work with.
- So when you change the layout of the Notes Master it will change it for every single notes section in your project.
- Again, like the Handout Master, you can change the orientation and slide size.
- You are also given the option to select or deselect your headers and footers, the date, and page number.
- Note that you are given the option to get rid of the slide image as well, so if all you want are notes for each slide, then you can select that option.
- Also be aware that the page number corresponds to the slide number as well (since there are only notes for one slide per page).
- Like the Handout Master, you can change format of the background.
Once you have finished editing the Notes Master for your project, you can preview your changes by going File > Print.

You then need to click where it says Full Page Slides under Settings and to change it to Notes Pages. Then you will be able to preview and print.
The original article is here.