
Flat design is evolving, and gradients are making their modern-day comeback as a flat design enhancement. This update often referred to as “flat 2.0” or “semi-flat design”. Their reappearance in iOS and adoption by industry leaders like Stripe and Instagram have solidified their popularity once again. You’ll be seeing them in the form of vibrant UI, branding, backgrounds, illustrations and overlays.
We are not going to keep up with modern requirements, is not it?
So, if you want the animated object in your presentation to move neatly and have clean, sharp edges, try the Peek In animation effect with a mask.
How to use the Peek In animation with a mask
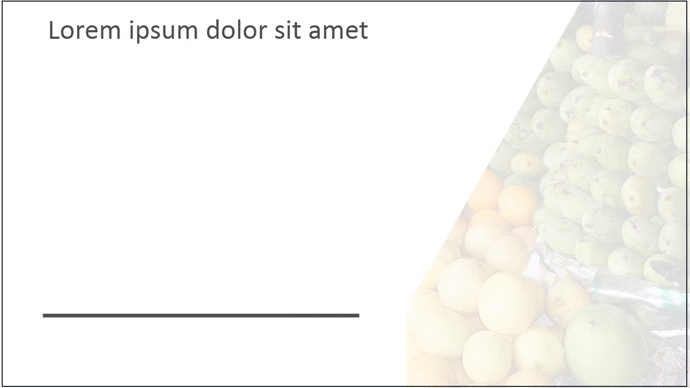
So let’s say you have a slide, like this:
We have a photo that we took from Pexels and a fact we want to draw attention to:
We could use a Fly In or a Wipe animation effect, but it wouldn’t look slick and clean. So we’re going to use a Peek In animation with a mask.
Here’s how we do it:
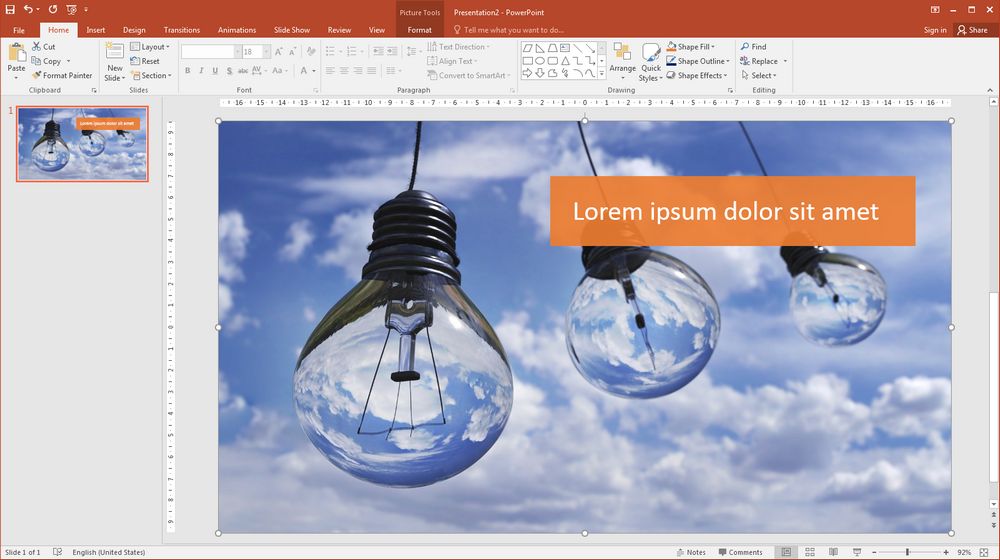
- We’ve going to choose place our object to peek out from behind the bulb
- and then to apply a Peek In animation (find this under Add Animation > More Entrance Effects…).
- And finally let it peek from left.
But look below: even the Peek In effect has a nasty gradient when it animates.

So we make a mask and there are two ways to do this: the complexity of your object will influence which method you choose.
Cropping image to make a mask
- Duplicate your image and line them up using the alignment tools, so that they sit one on top of the other.
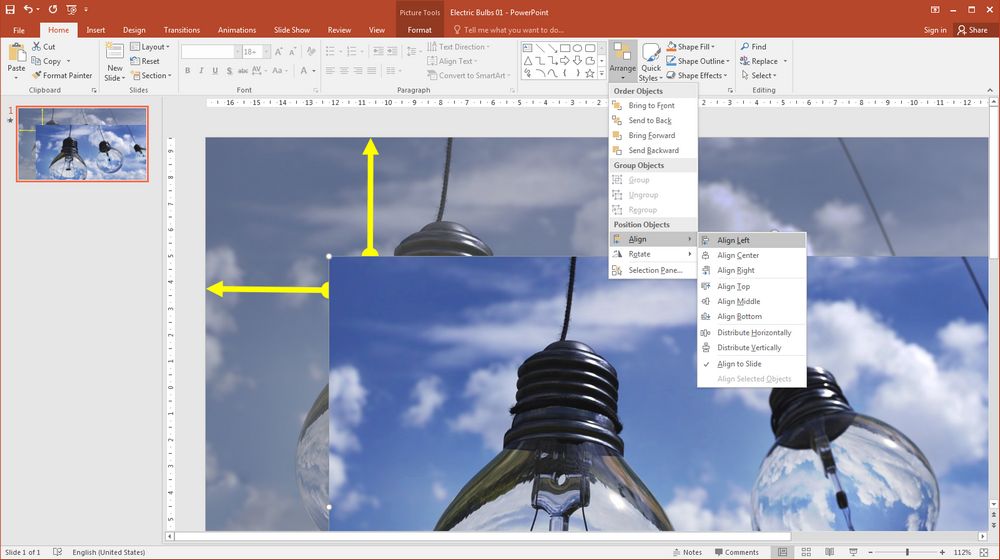
- Use the crop tools to crop the shape you want.
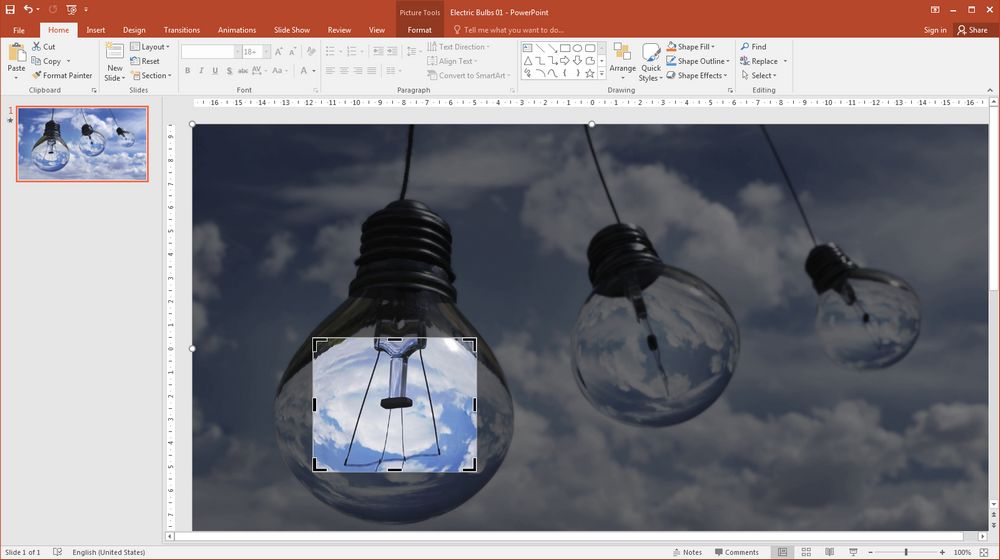
- Arrange the mask so it lines up with the original
Effect complete!
Using the Freeform and Merge Shape tools
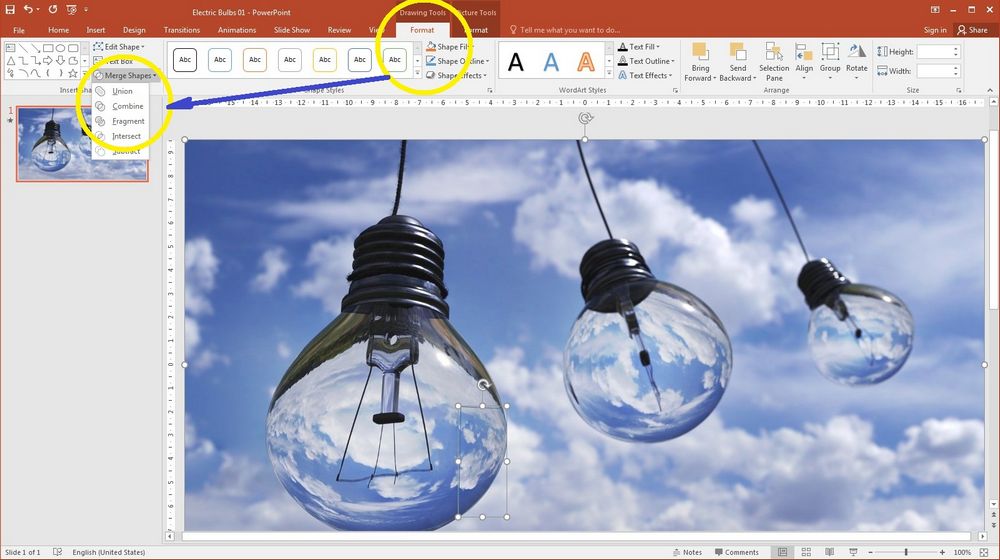
If you have a more intricate object then you better use this great method. Here it is described in detail too.
- Duplicate your image and line them up using the alignment tools, so that they sit one on top of the other.
- Use Freeform Shape (and Edit Points tool in Drawing Tools Format tab if you need) tool and draw around the area you’d like for your mask.

Draw around the area you’d like for your mask - Select the duplicated image, hold down Ctrl, and select the shape you have just created.
- Navigate to the Drawing Tools Format tab on the ribbon and select the Merge Shapes drop-down.
- Choose Intersect.
Choose Intersect - Arrange your object behind your mask and run it in show mode.
Effect complete!

But read on because Peek In animation with mask works perfectly not only with images!
Creating slick animation with mask for non-live graphs
Using PowerPoint’s default charts can be really helpful, especially if you have complex data. But if you make a non-live chart, just using shapes and lines, you have a lot more animation flexibility.
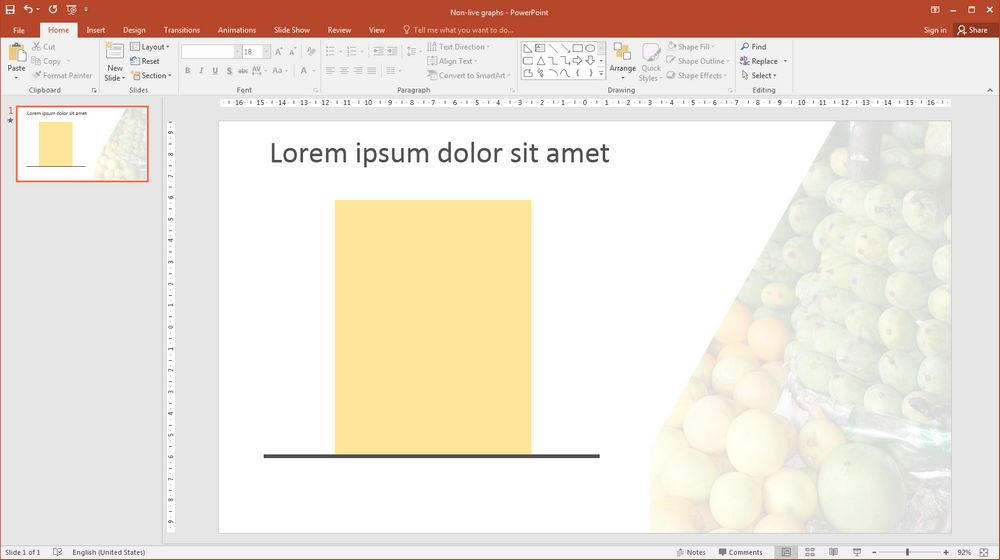
Let’s say you have a slide that looks like this:
The default would be to apply a Wipe animation to the bar. But it will give us a not very good result and you remember why, right?
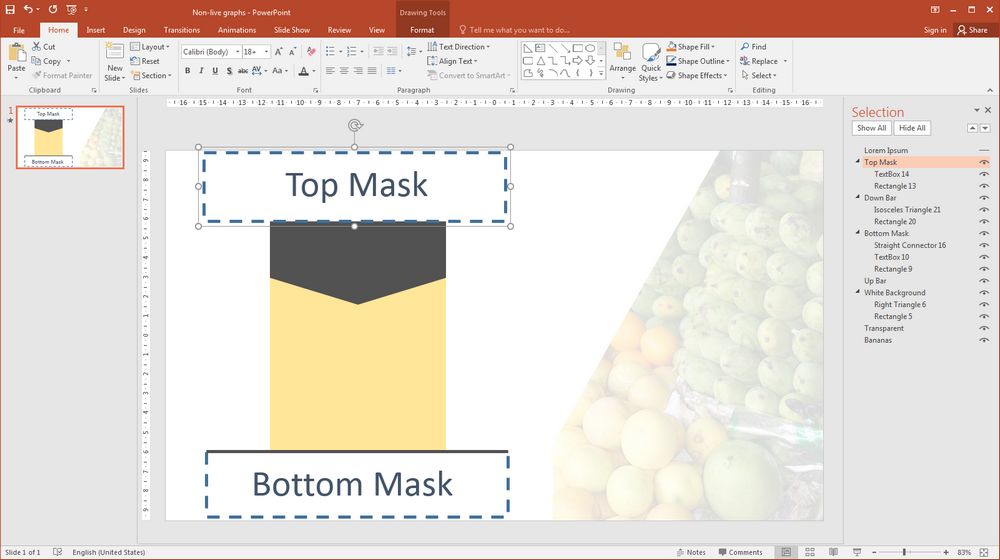
So let’s draw a rectangle to mask the bottom of the slide so that we can use Peek In to get a clear edge. The mask would fill this area:

It seems everything is ready, right? Not! Why stop at the most interesting? Let’s talk about how the global negative trends dramatically affect the profits of the modern market!
To do this we will put another mask, but now on top.
And — voilà!